30/08/2026
Xbox LED Modding a Controller
A guide to modifying an Xbox controller with custom LEDs, including the parts, preparation, installation and testing.
Xbox LED Modding a Controller
I’ve always liked modifying old hardware, and Xbox controllers are a great little project to experiment with.
In this project, I decided to modify an Xbox controller by replacing the standard LEDs with custom red LEDs to give it a completely different look.
⚠️ Warning: This modification involves soldering directly to the controller’s PCB. Take your time and make sure you understand the polarity of the LEDs before powering the controller.
What You’ll Need
For this modification I used:
- Xbox controller
- 4x Replacement 0603 LEDs
- Soldering iron
- Solder
- Flux
- Tweezers
- Small screwdriver set Torx Security T8
- Small amount of wire, if required
The exact LEDs you need will depend on the controller model and which LEDs you are replacing.
Taking the Controller Apart
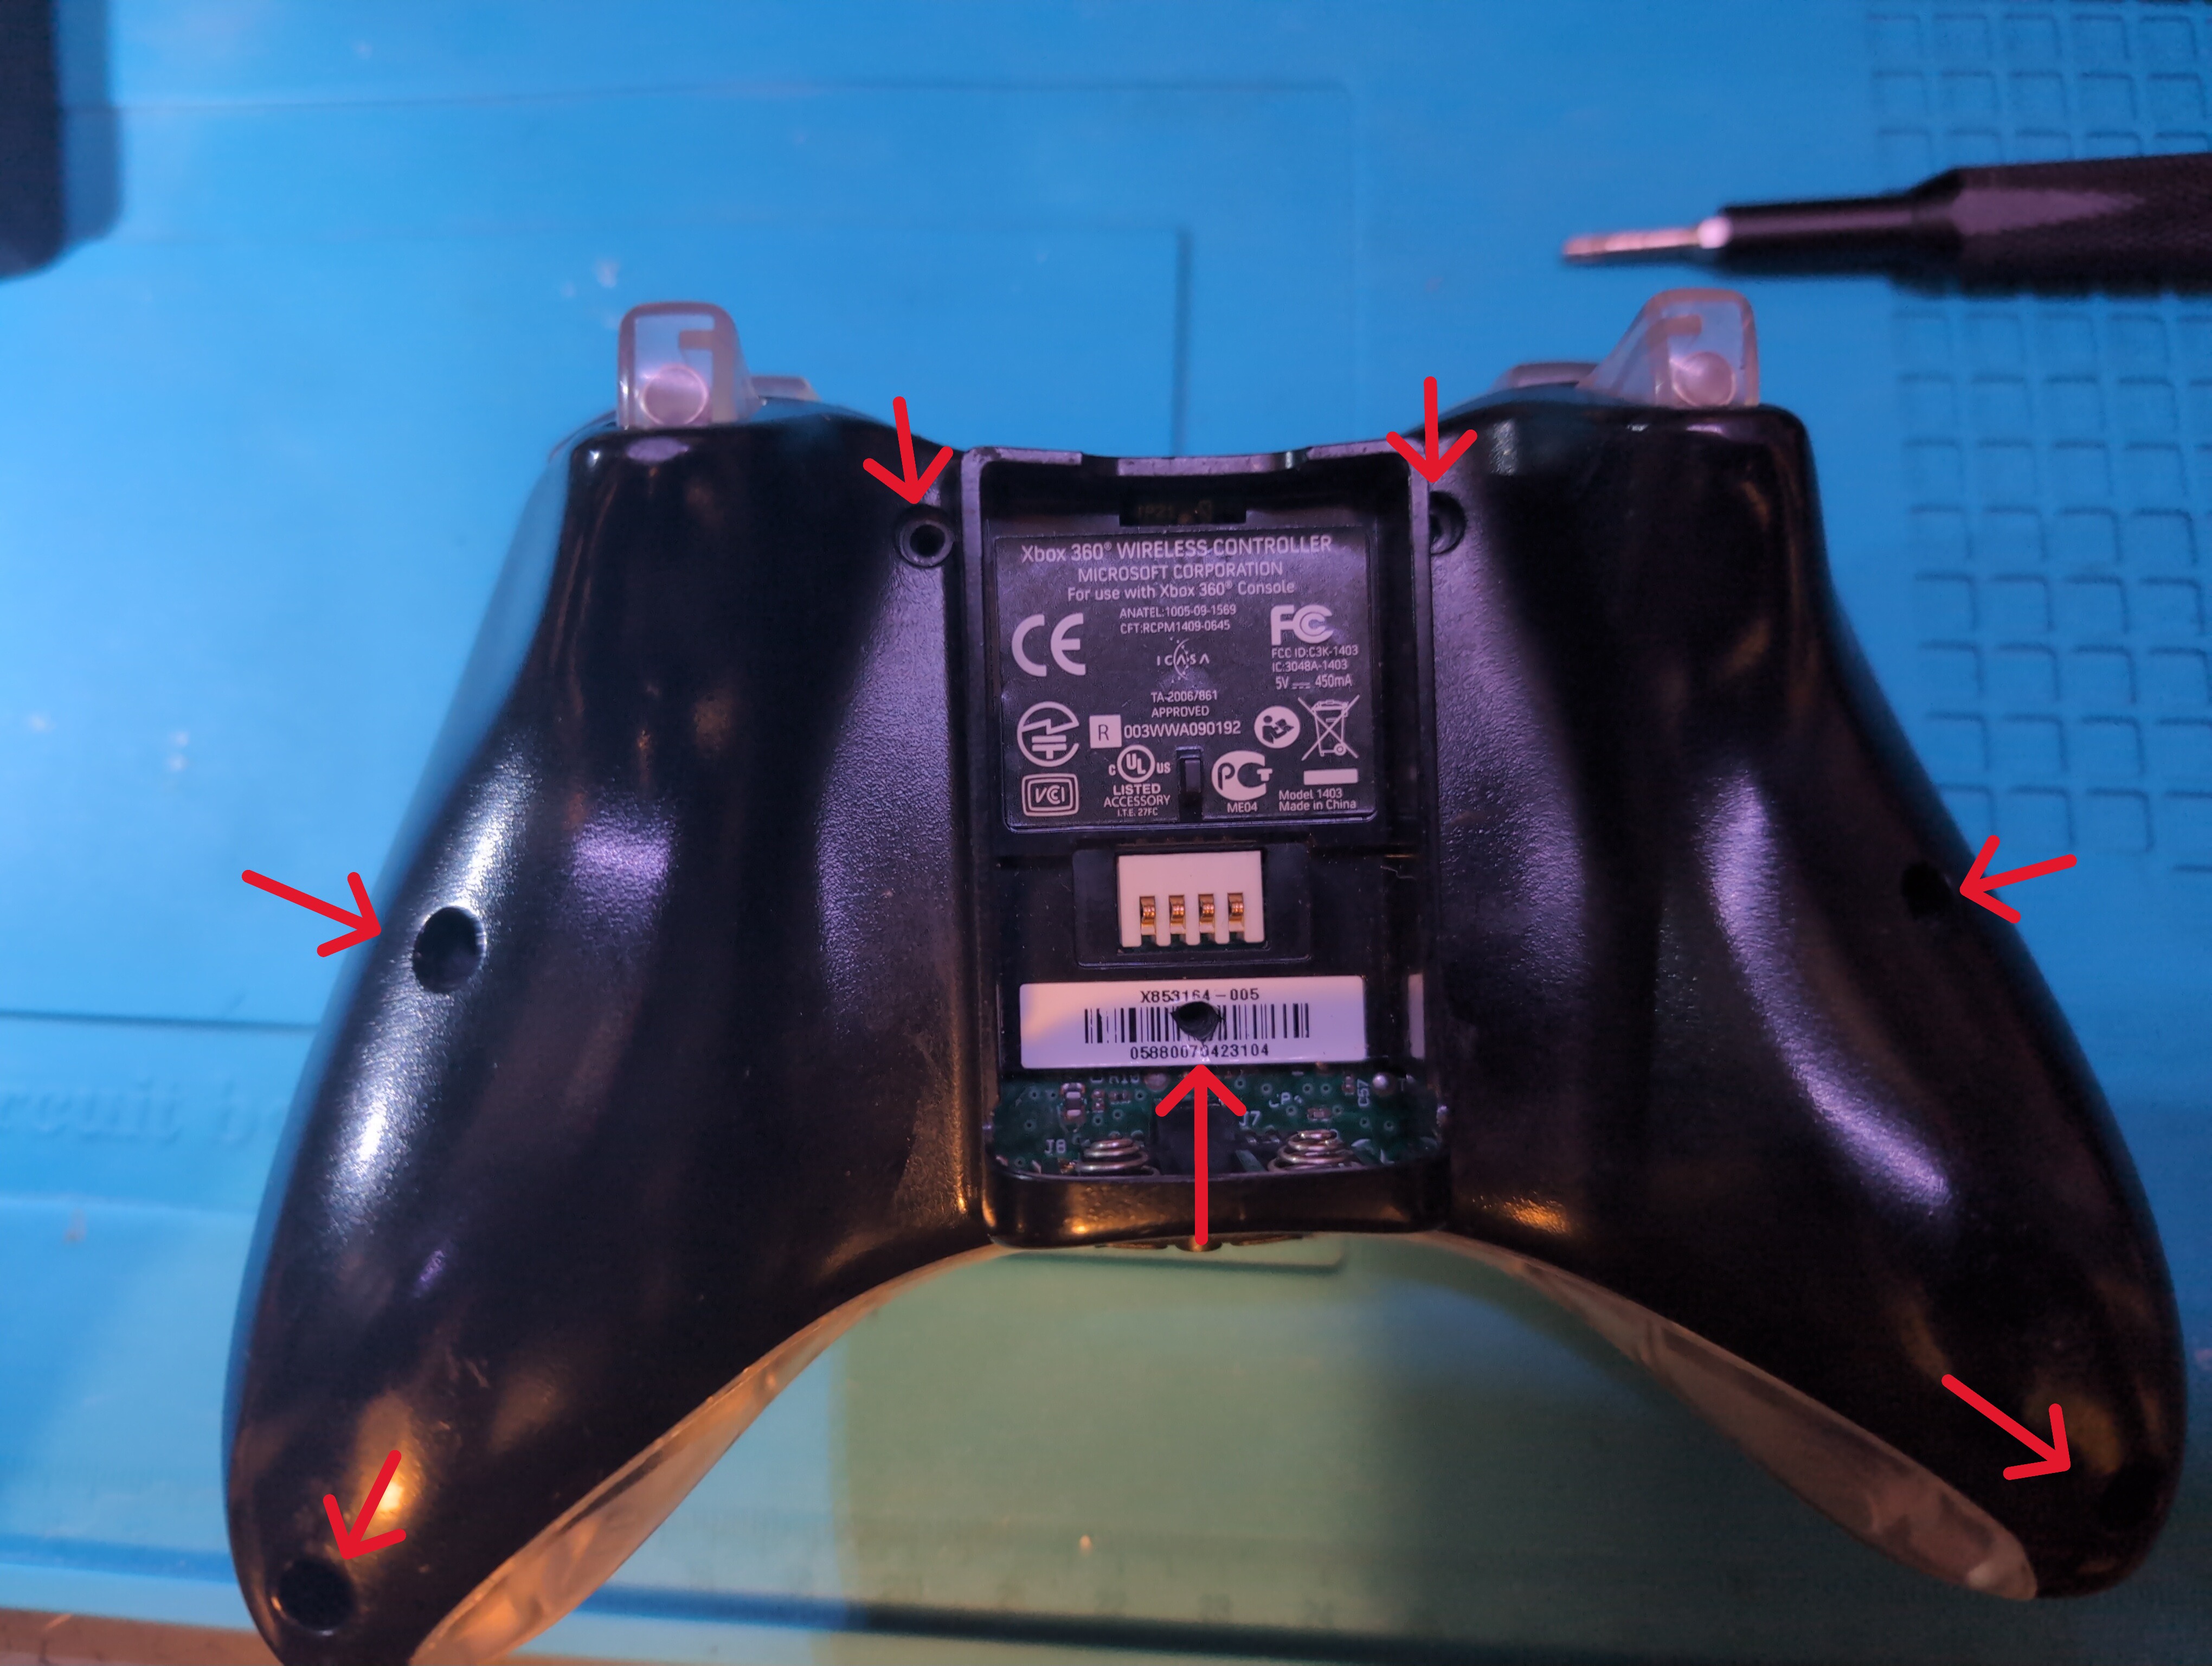
The first step is to carefully disassemble the controller.
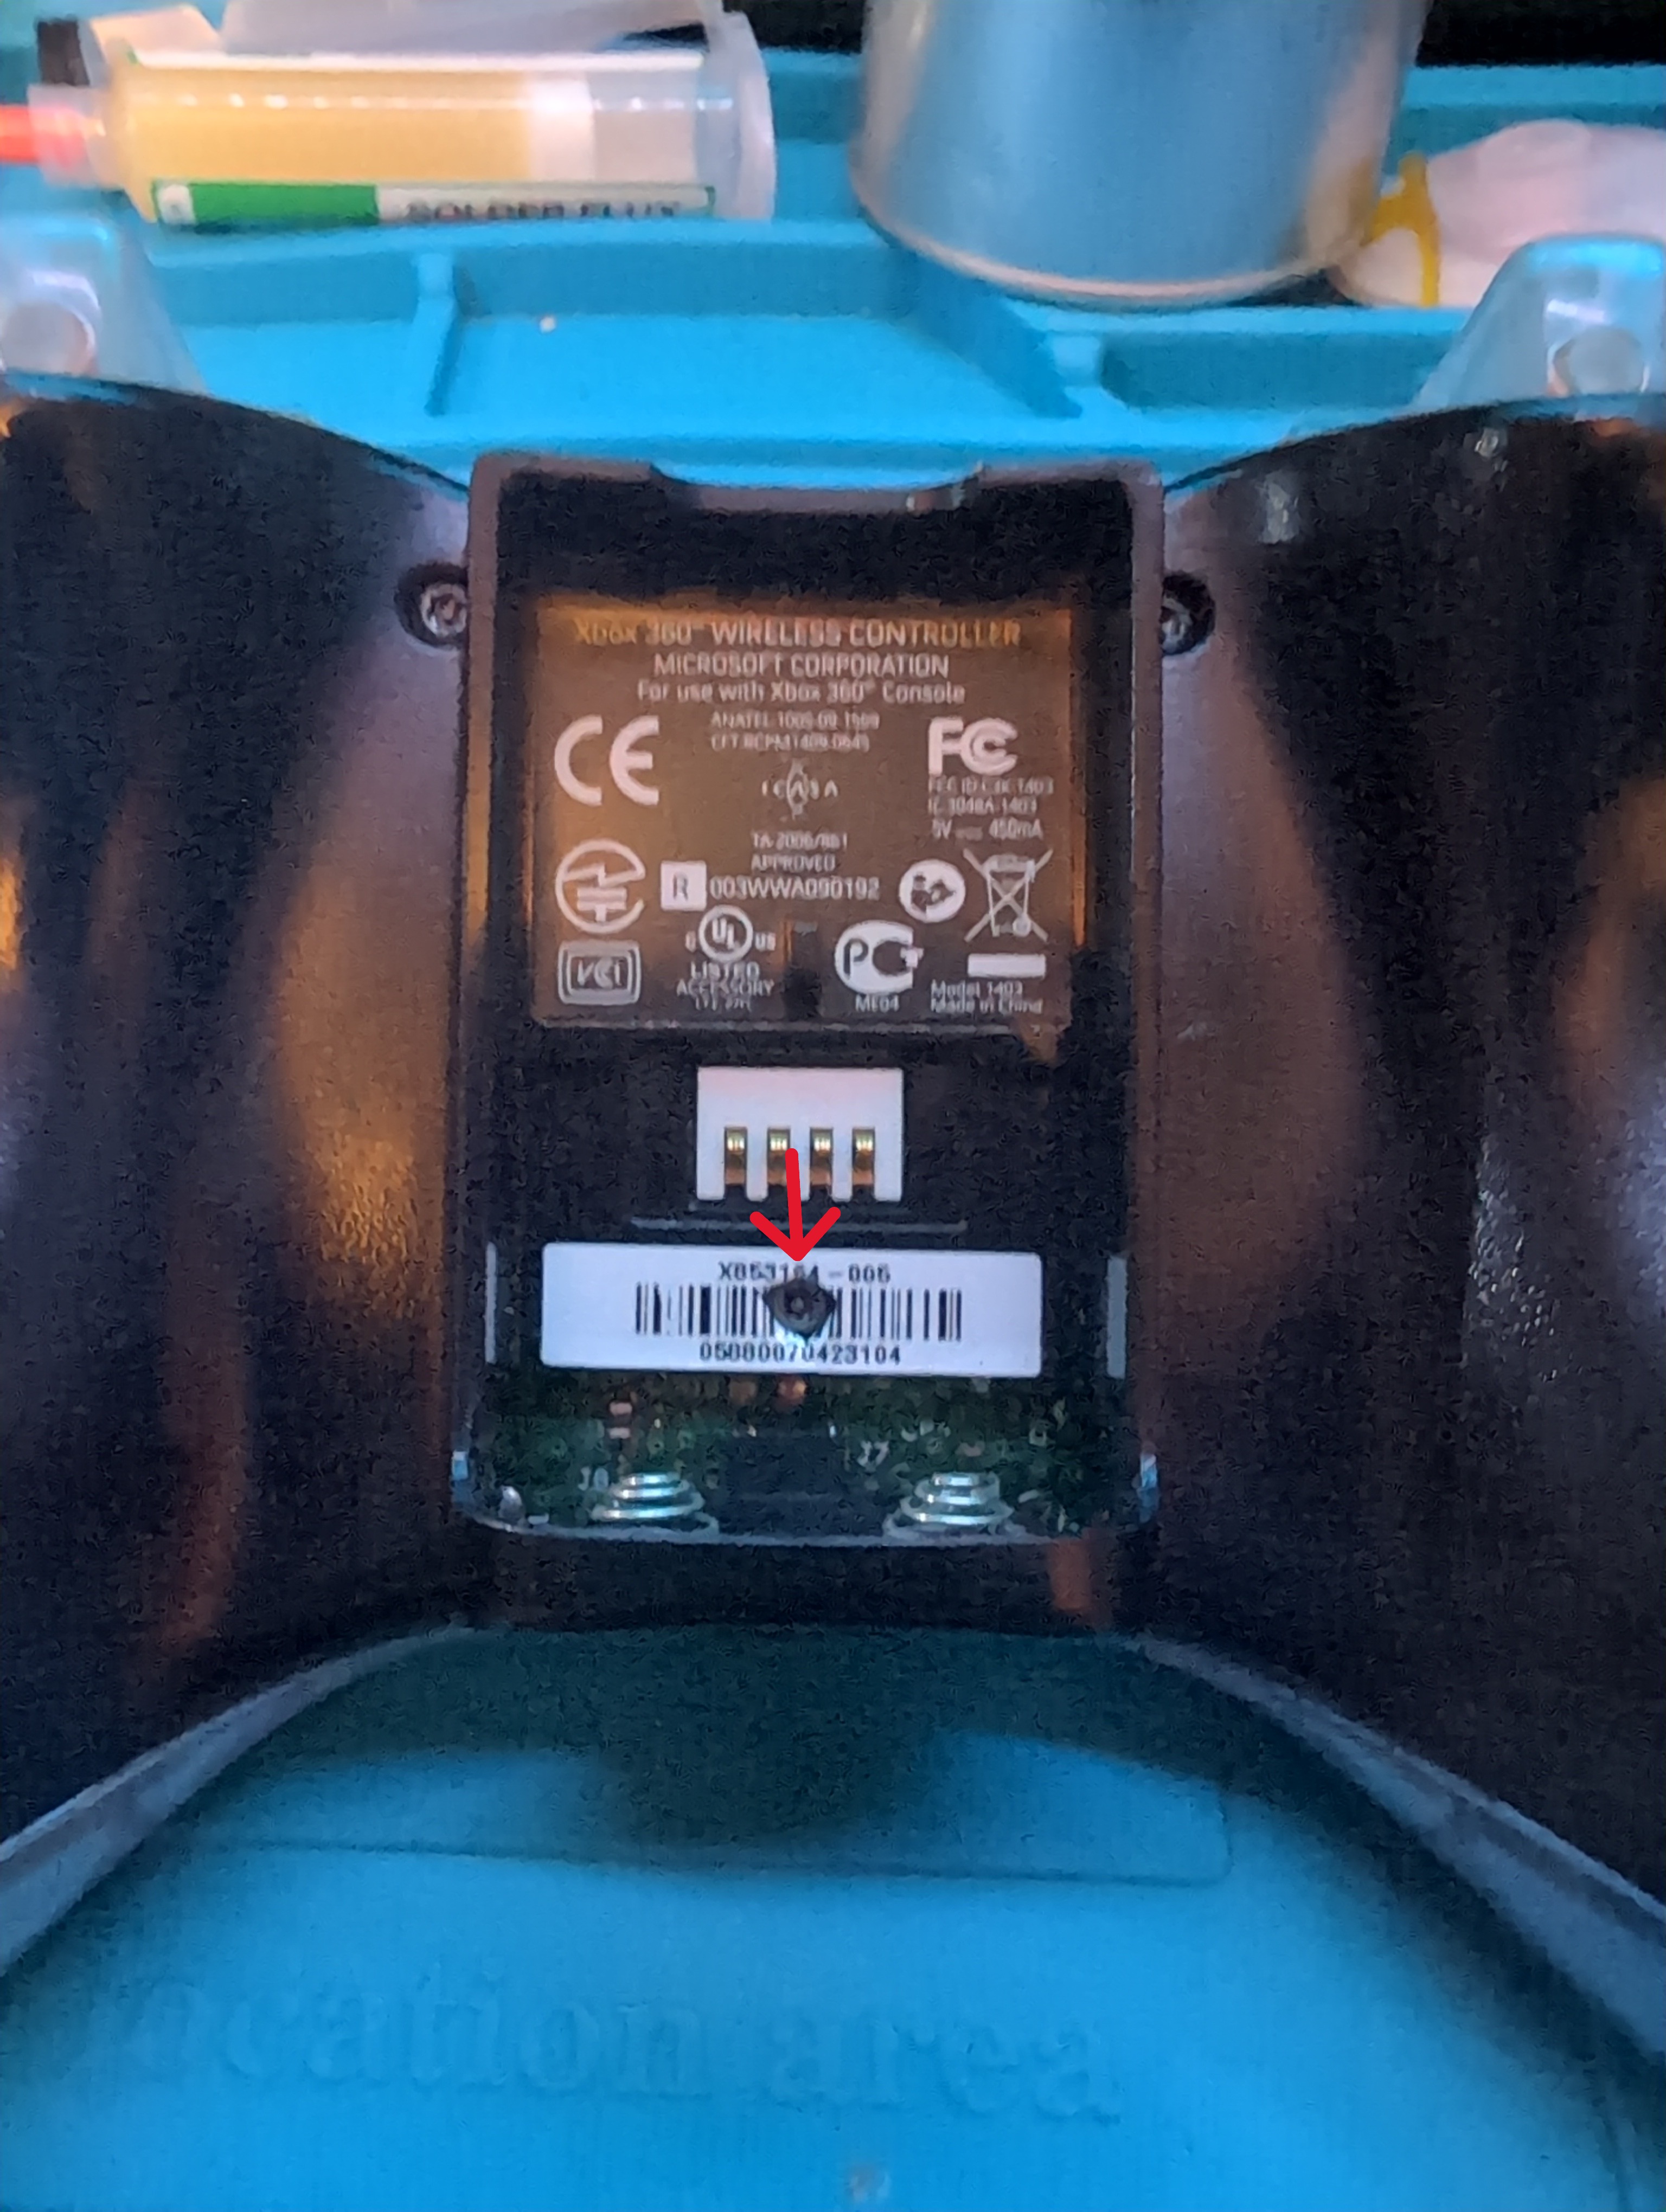
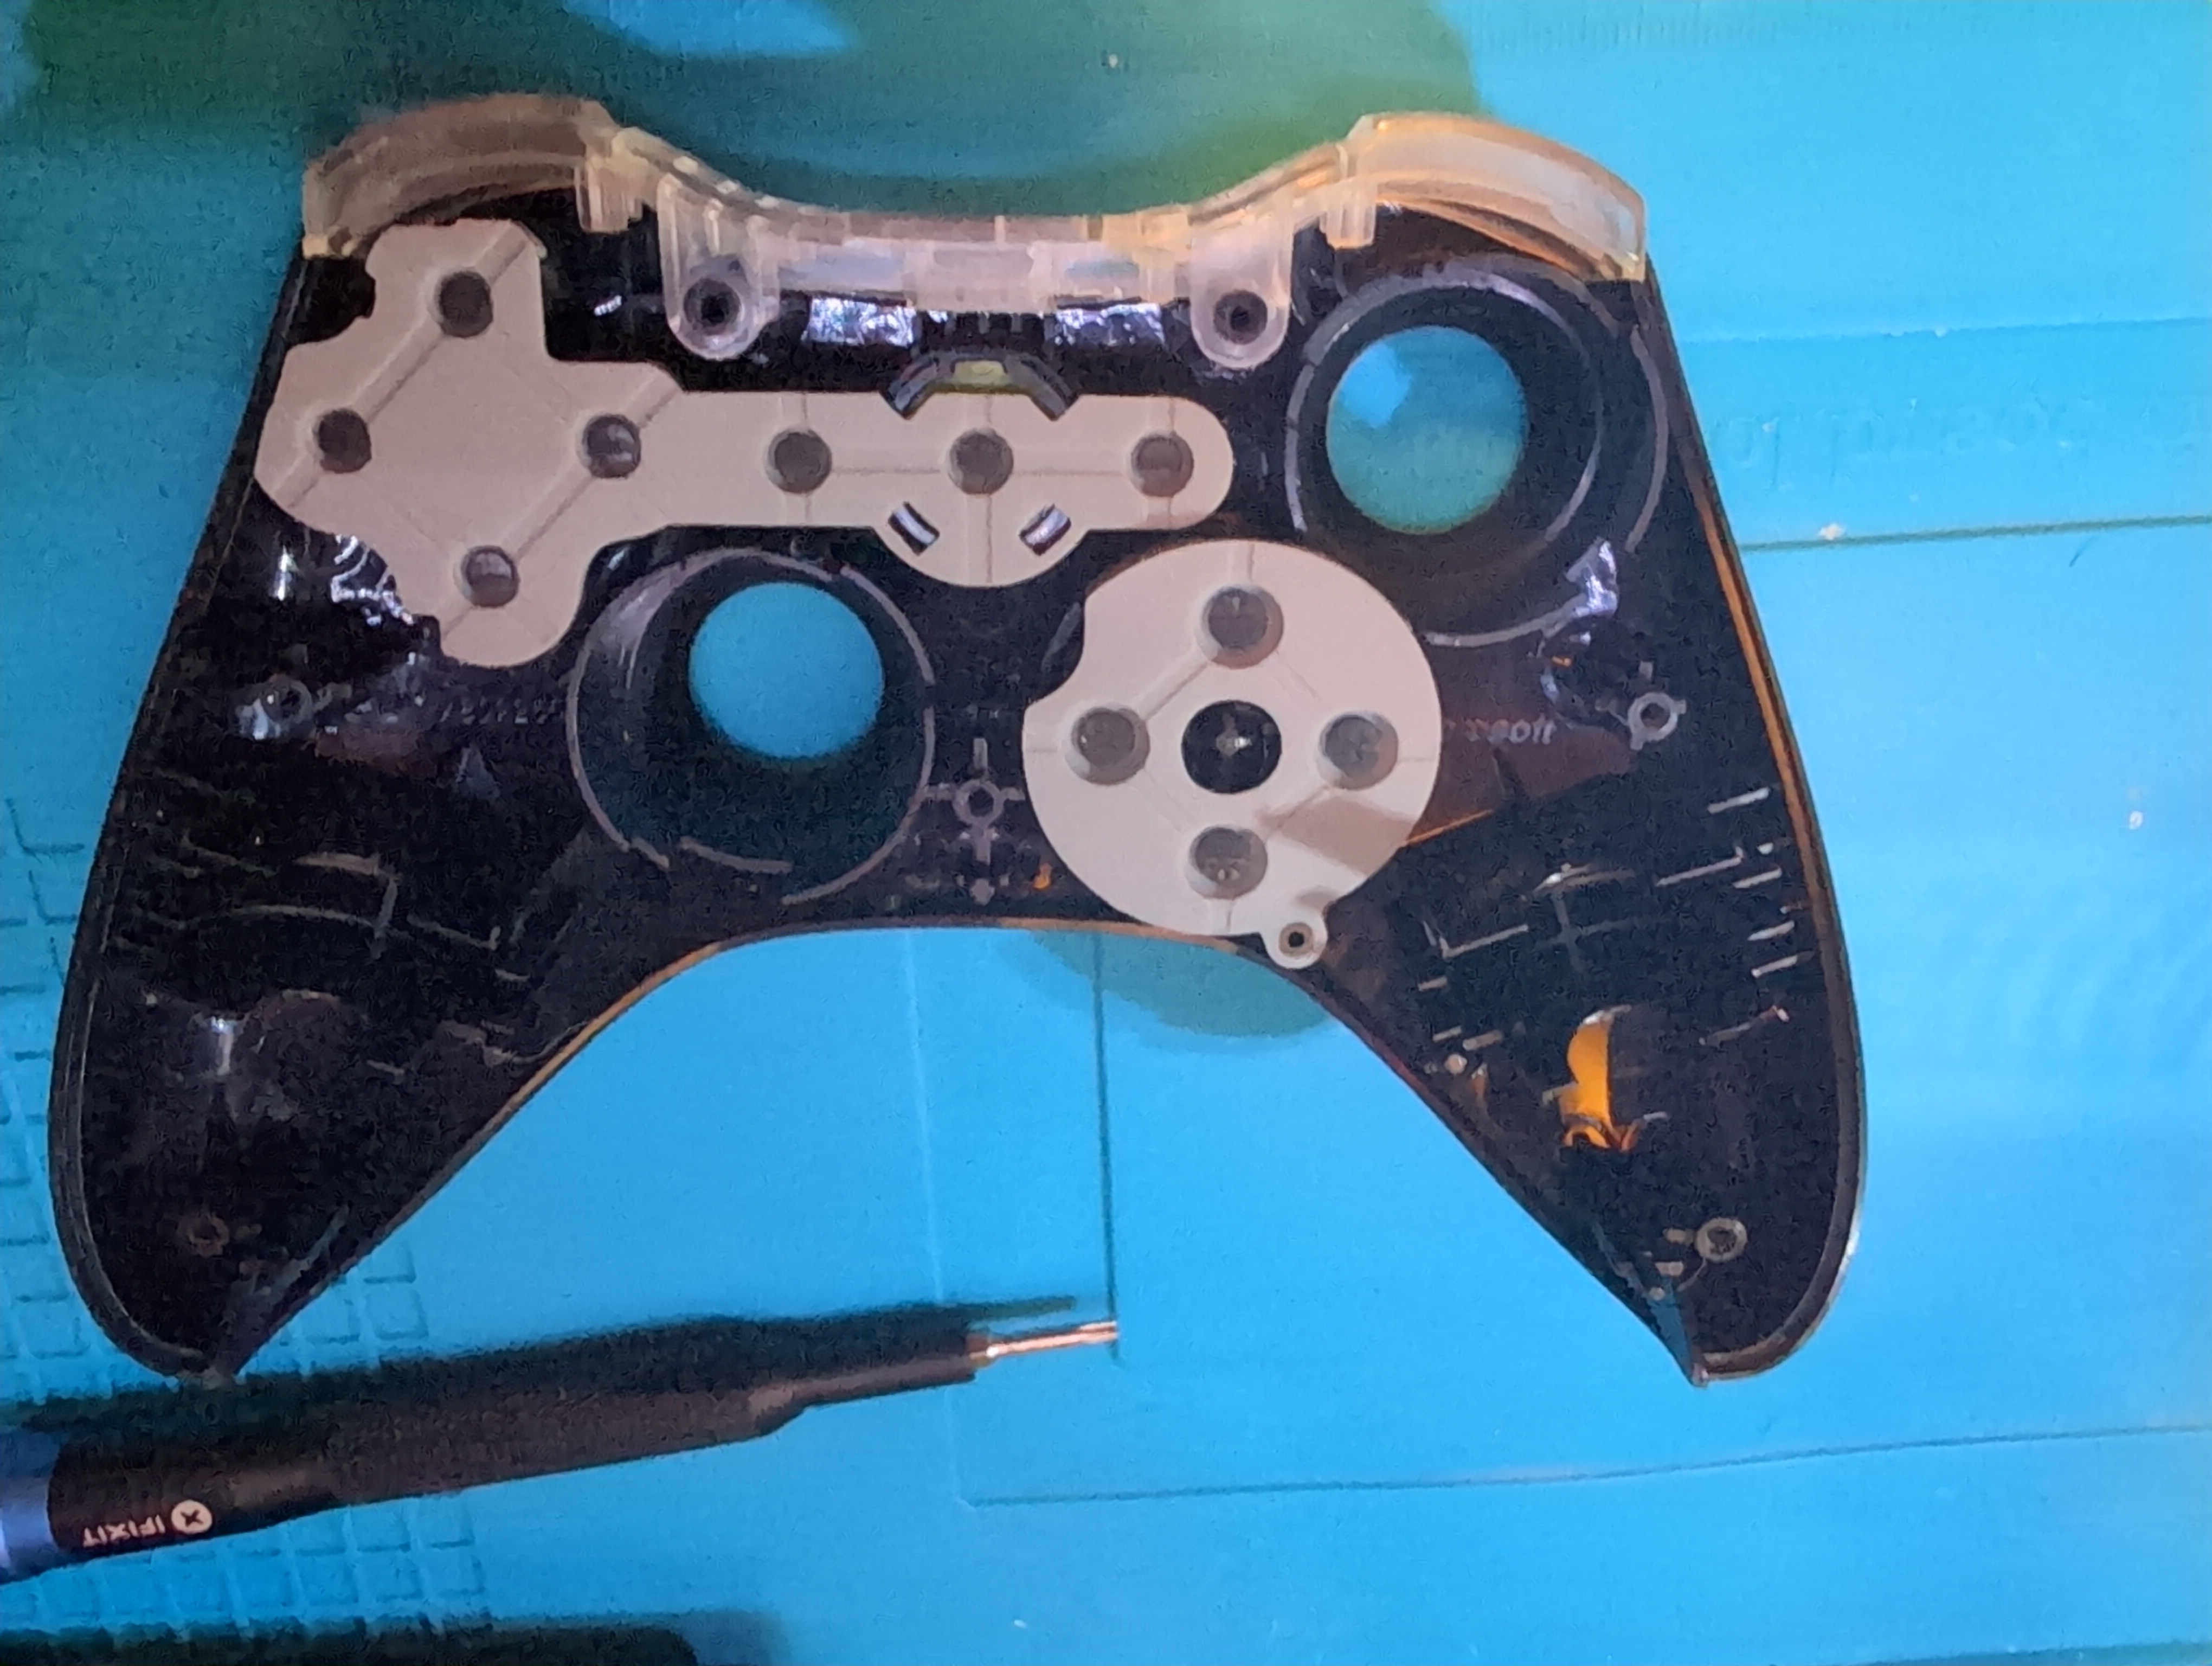
Remove the screws from the rear of the controller and separate the two halves of the shell. Be careful when opening it, ensure to face it down so the buttons dont all fall out.
There is an additional screw under the barcode:
Once the shell is removed and set face down like this:
 The main PCB and LEDs can be accessed.
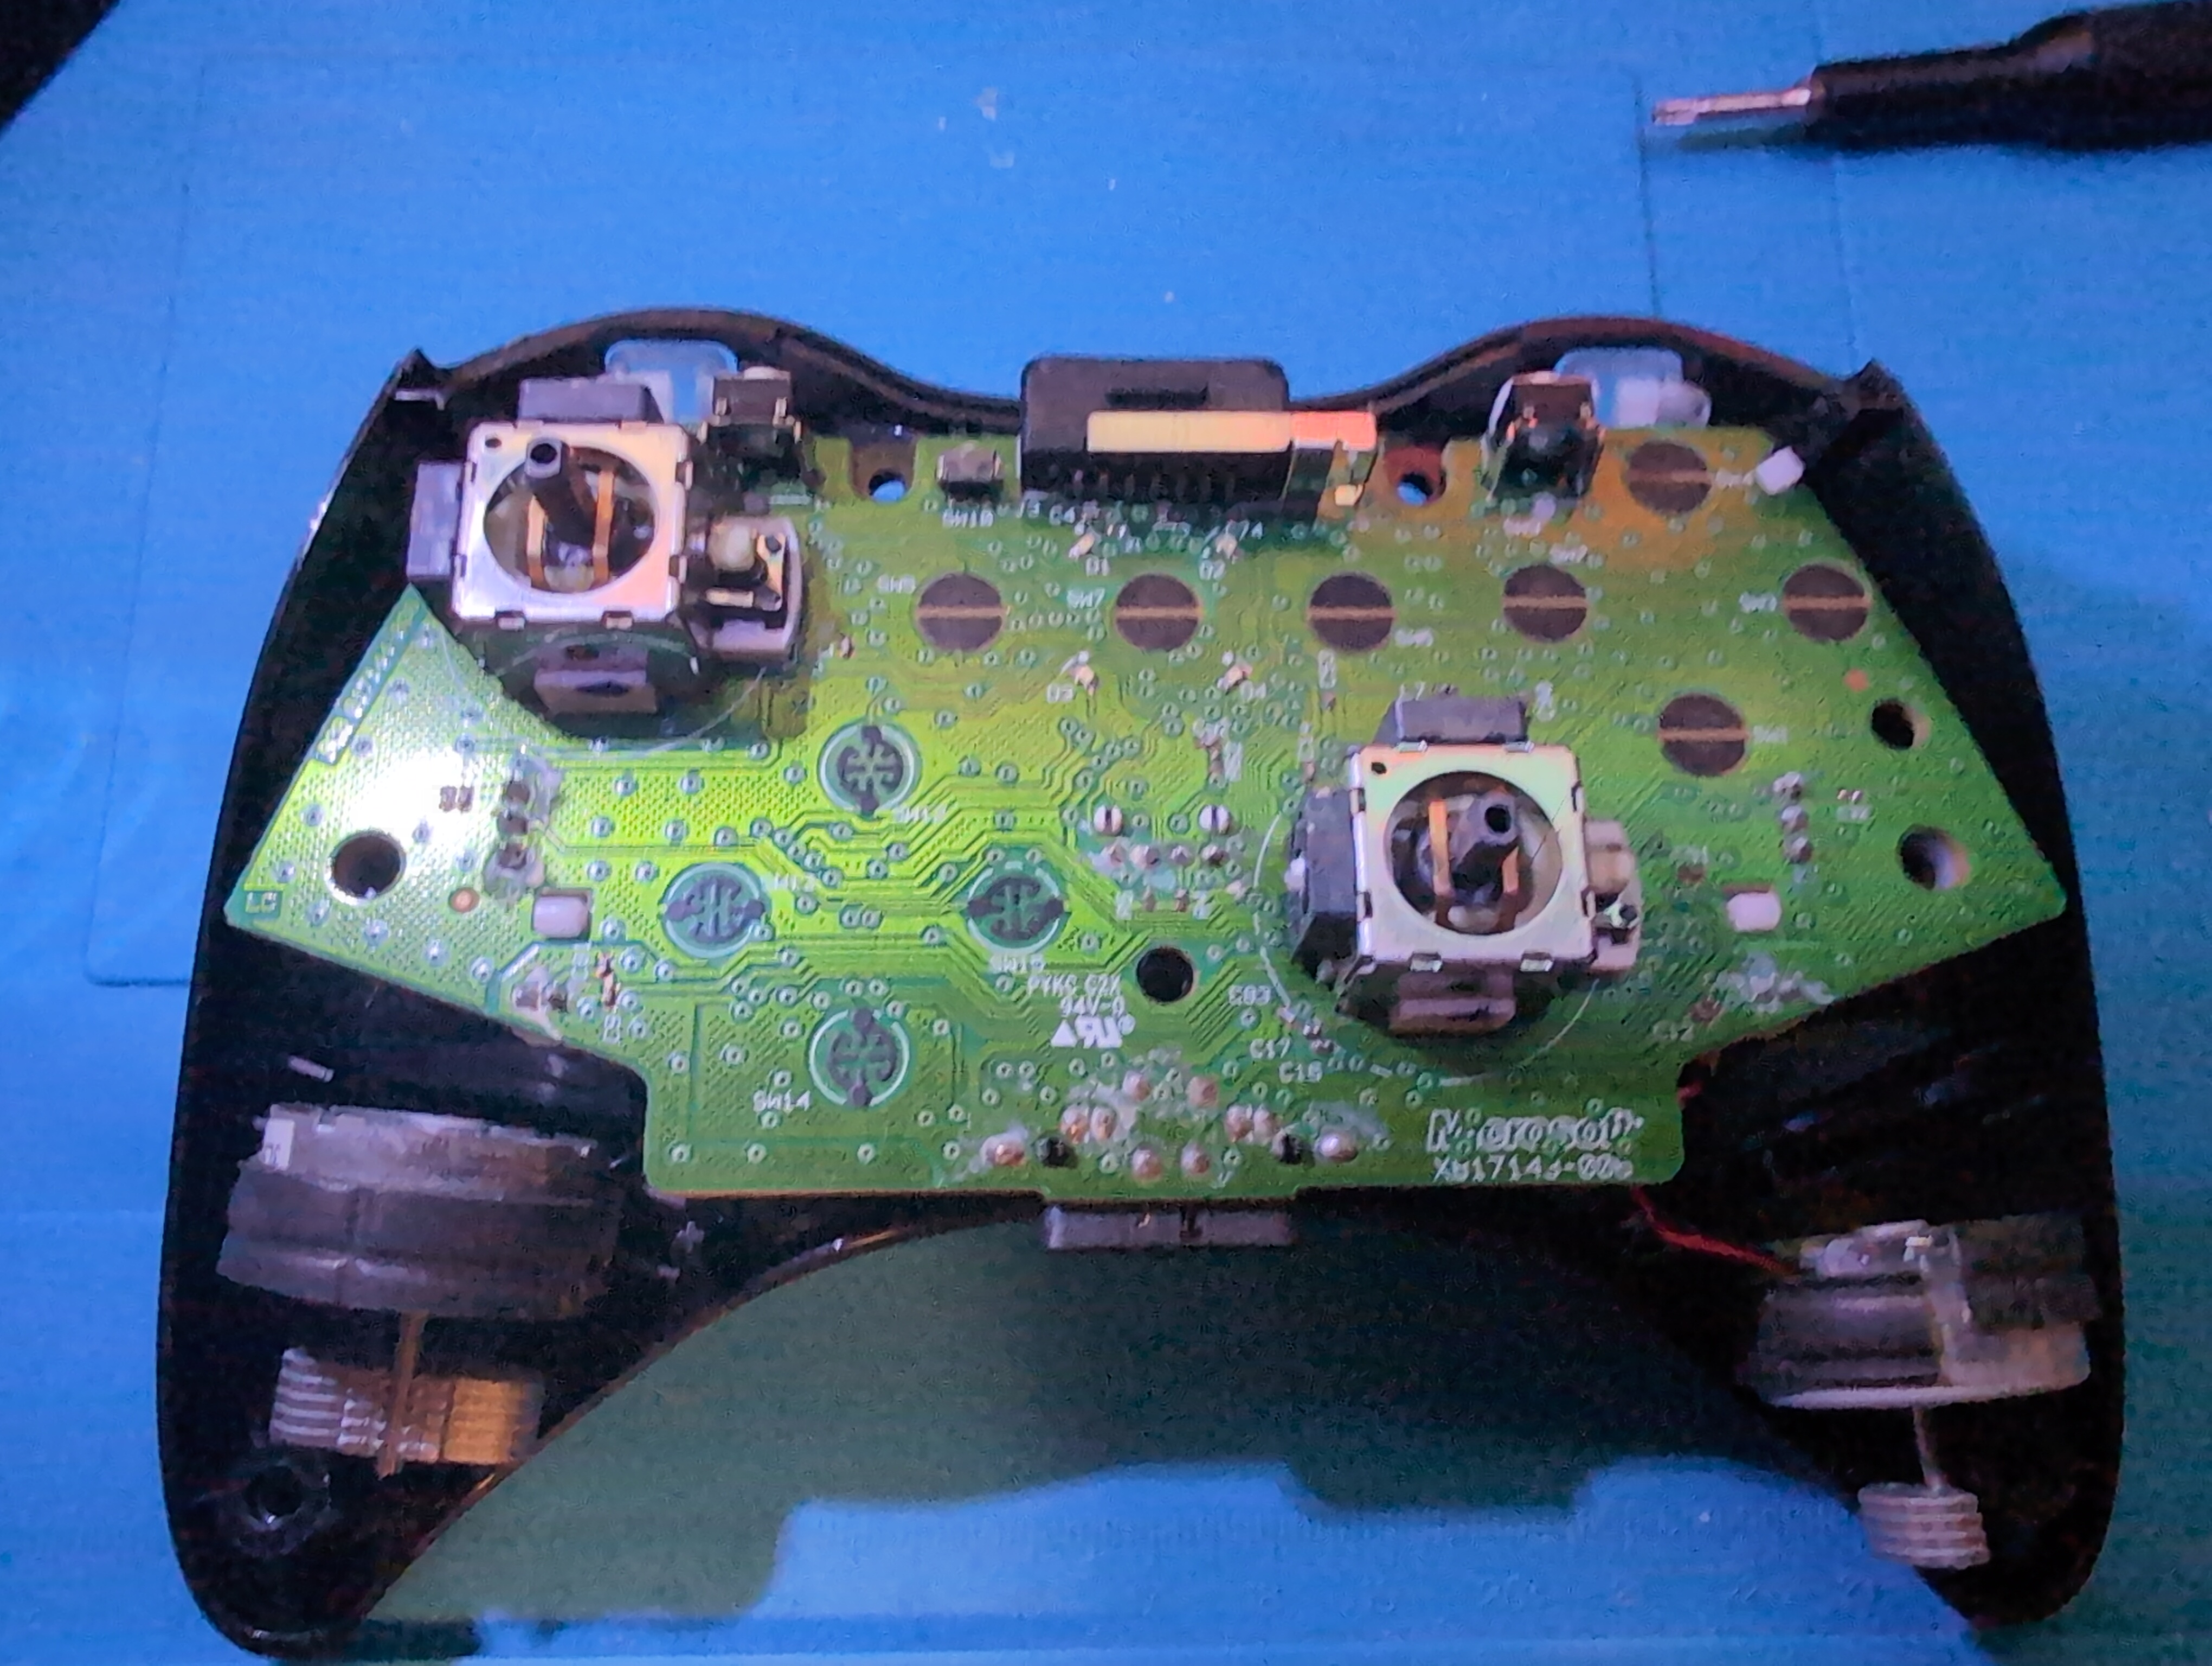
I recommend taking a few photos before removing anything. This makes it much easier to remember where everything goes when putting the controller back together.
Removing the Original LEDs
The original LEDs need to be removed from the PCB before the new ones can be installed.
Place a large blob of solder and and place around the LED, once done correctly you can heat both sides of the LED pads and slowly remove the LED.
Don’t apply excessive heat for too long, as it is possible to lift a PCB pad or damage the board.
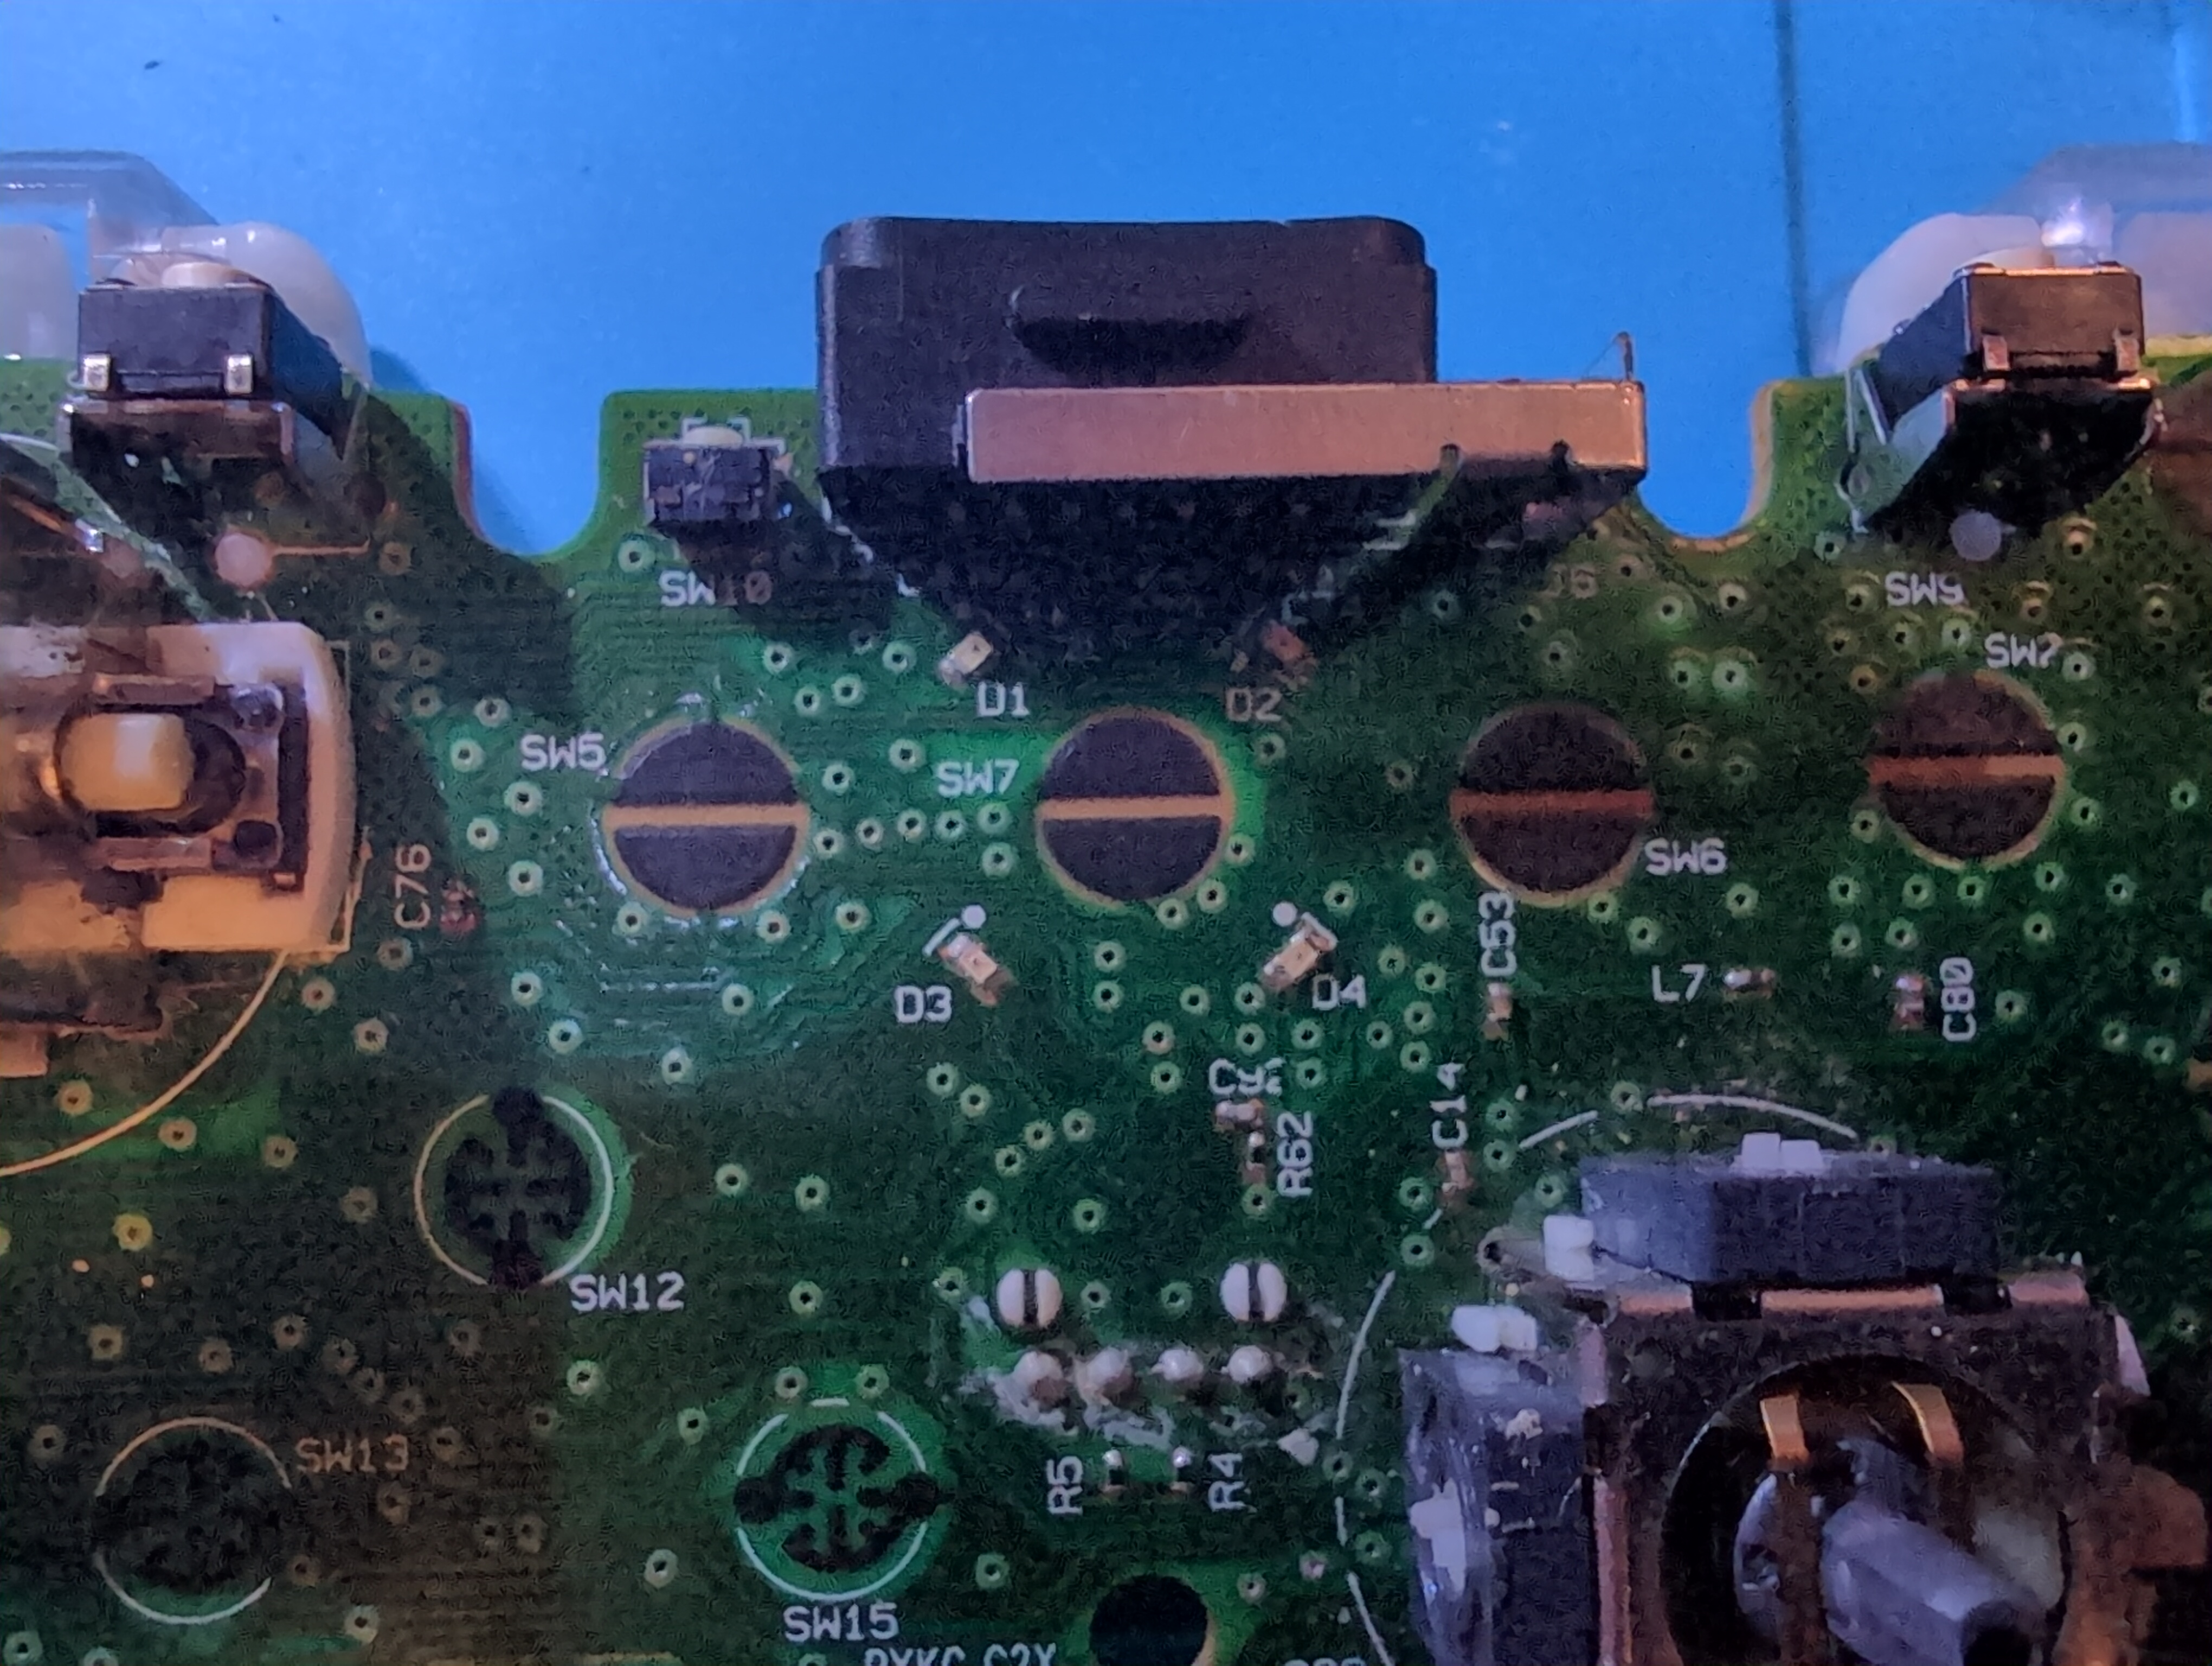
After removing the LEDs, clean up the solder pads with a little flux and solder wick if necessary.
You should end up with clean pads ready for the replacement LEDs.
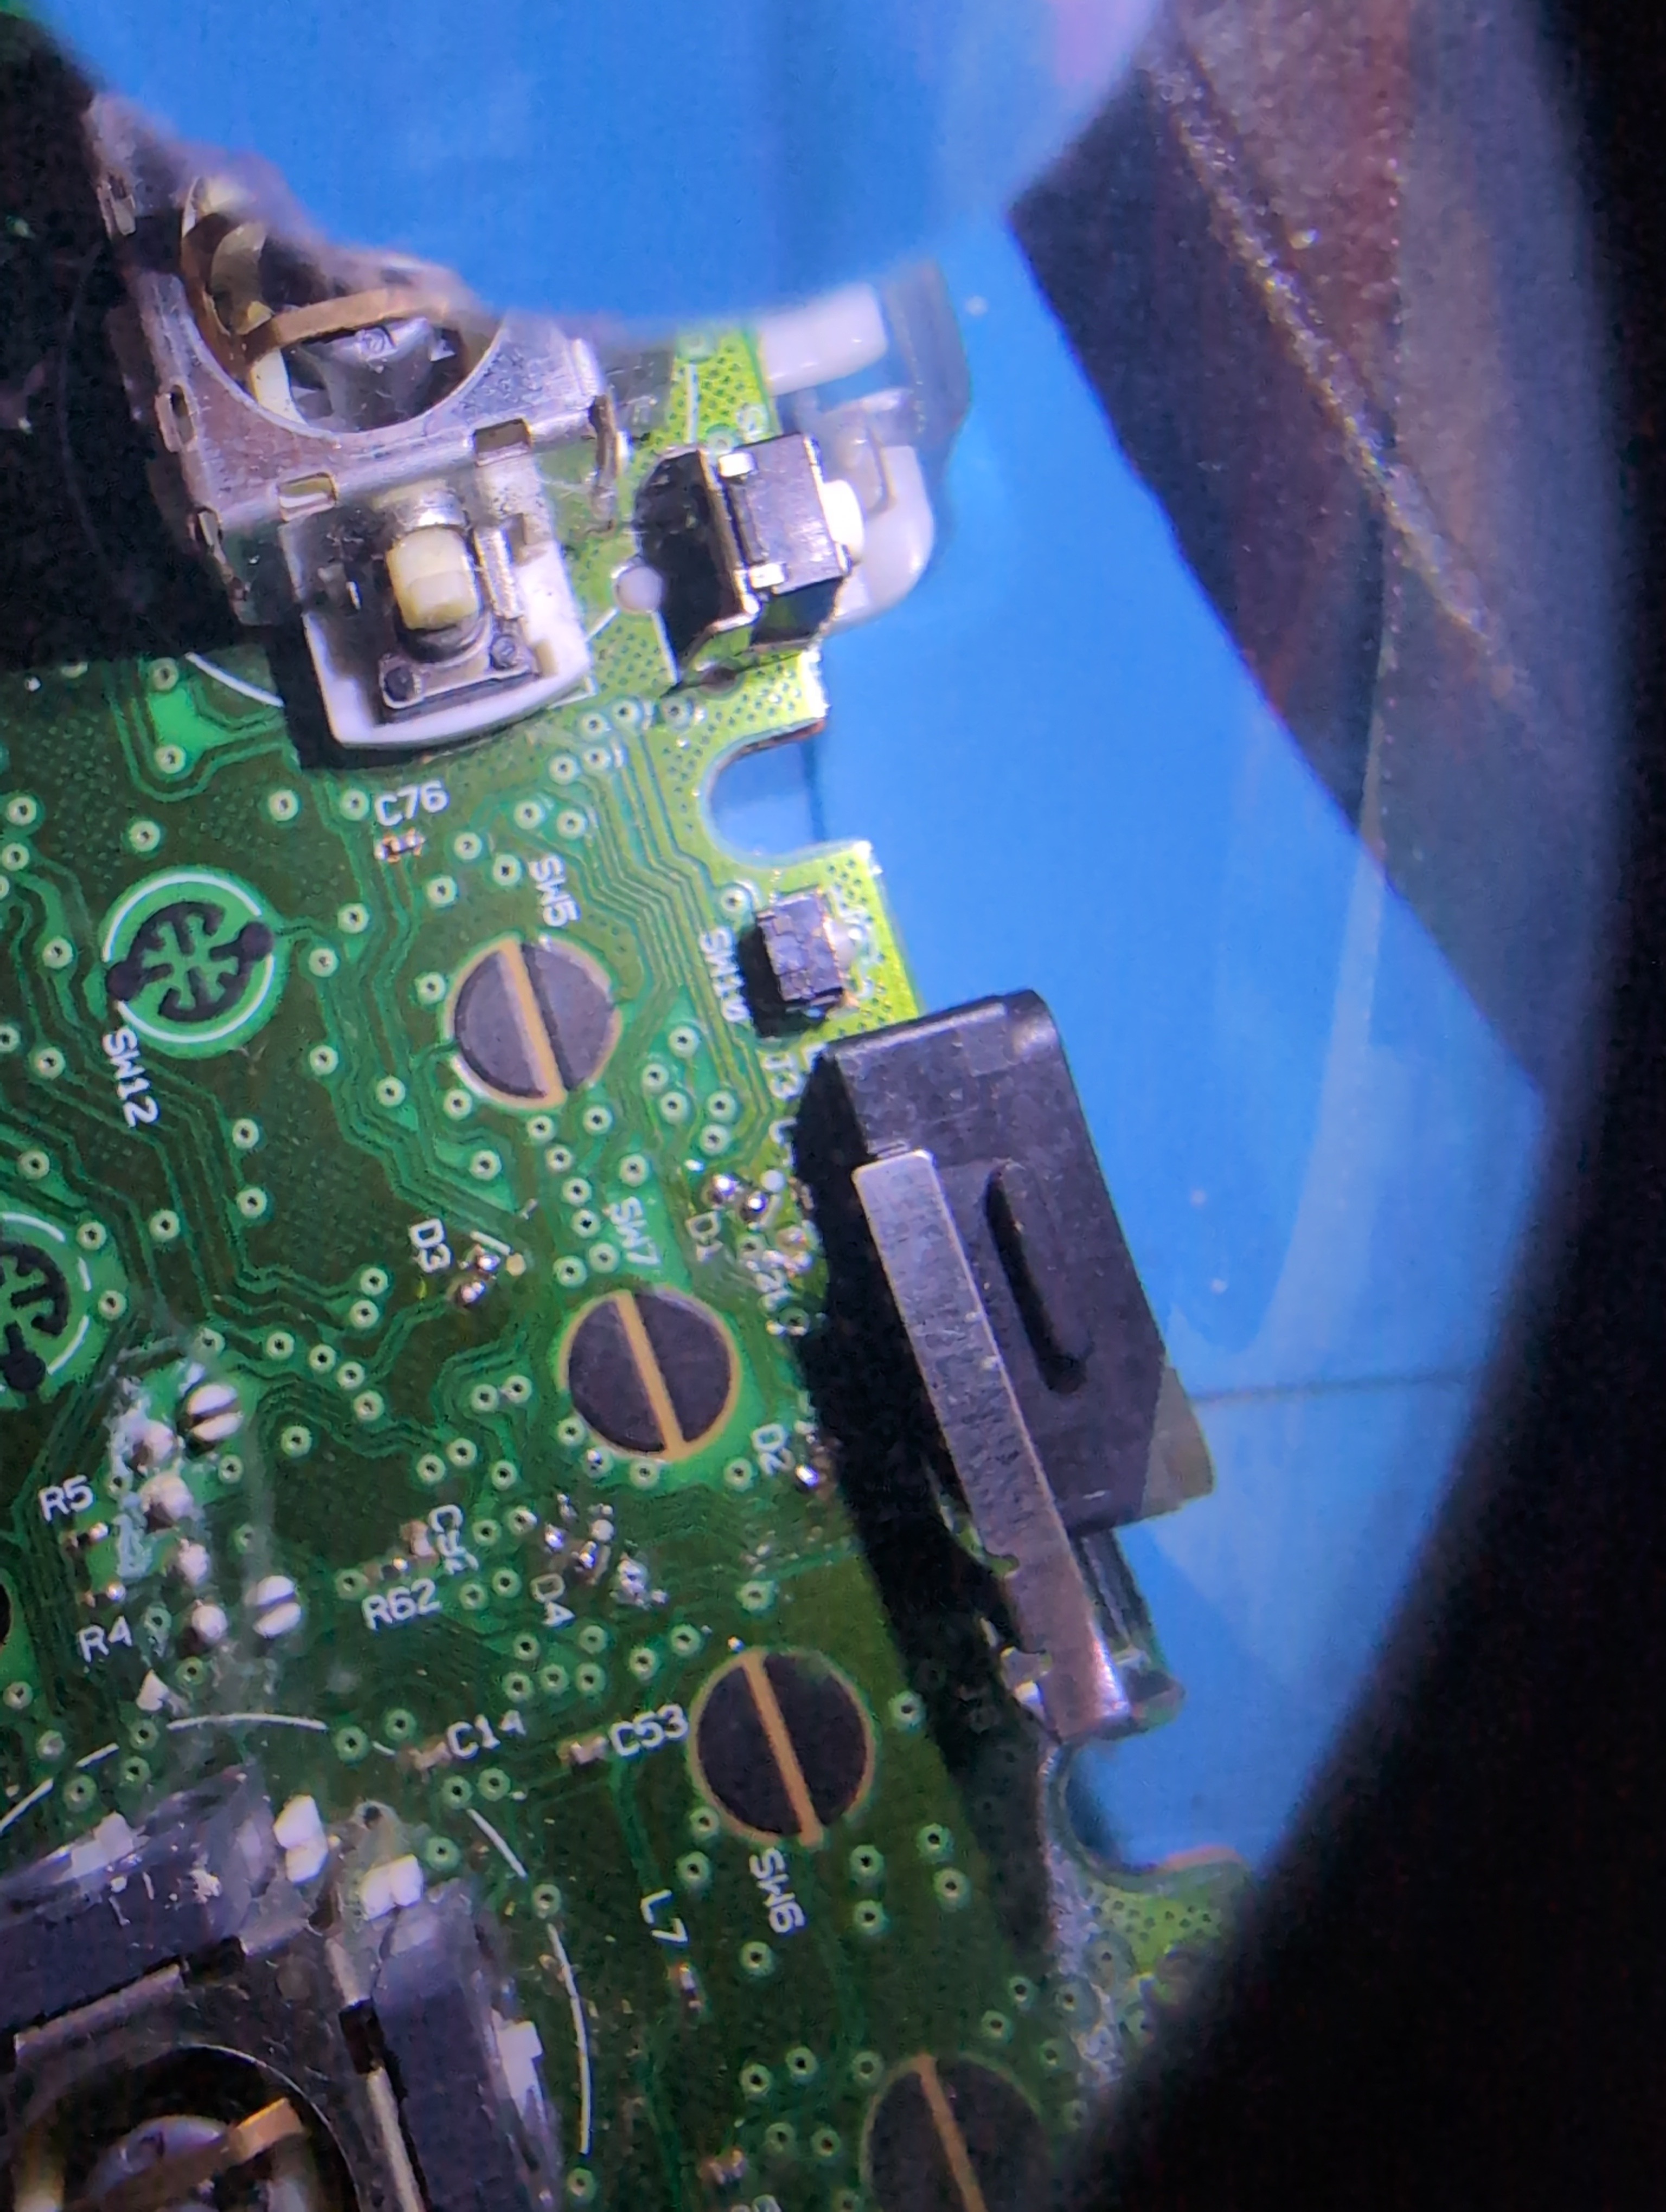
Checking LED Polarity
One of the most important parts of the modification is getting the polarity correct.
LEDs are directional components, so they will only work when installed the correct way around.
Before soldering the replacement LEDs permanently, check the orientation of the original LED and compare it with the replacement. On most controllers the dot next to the pad is the indication of negative.
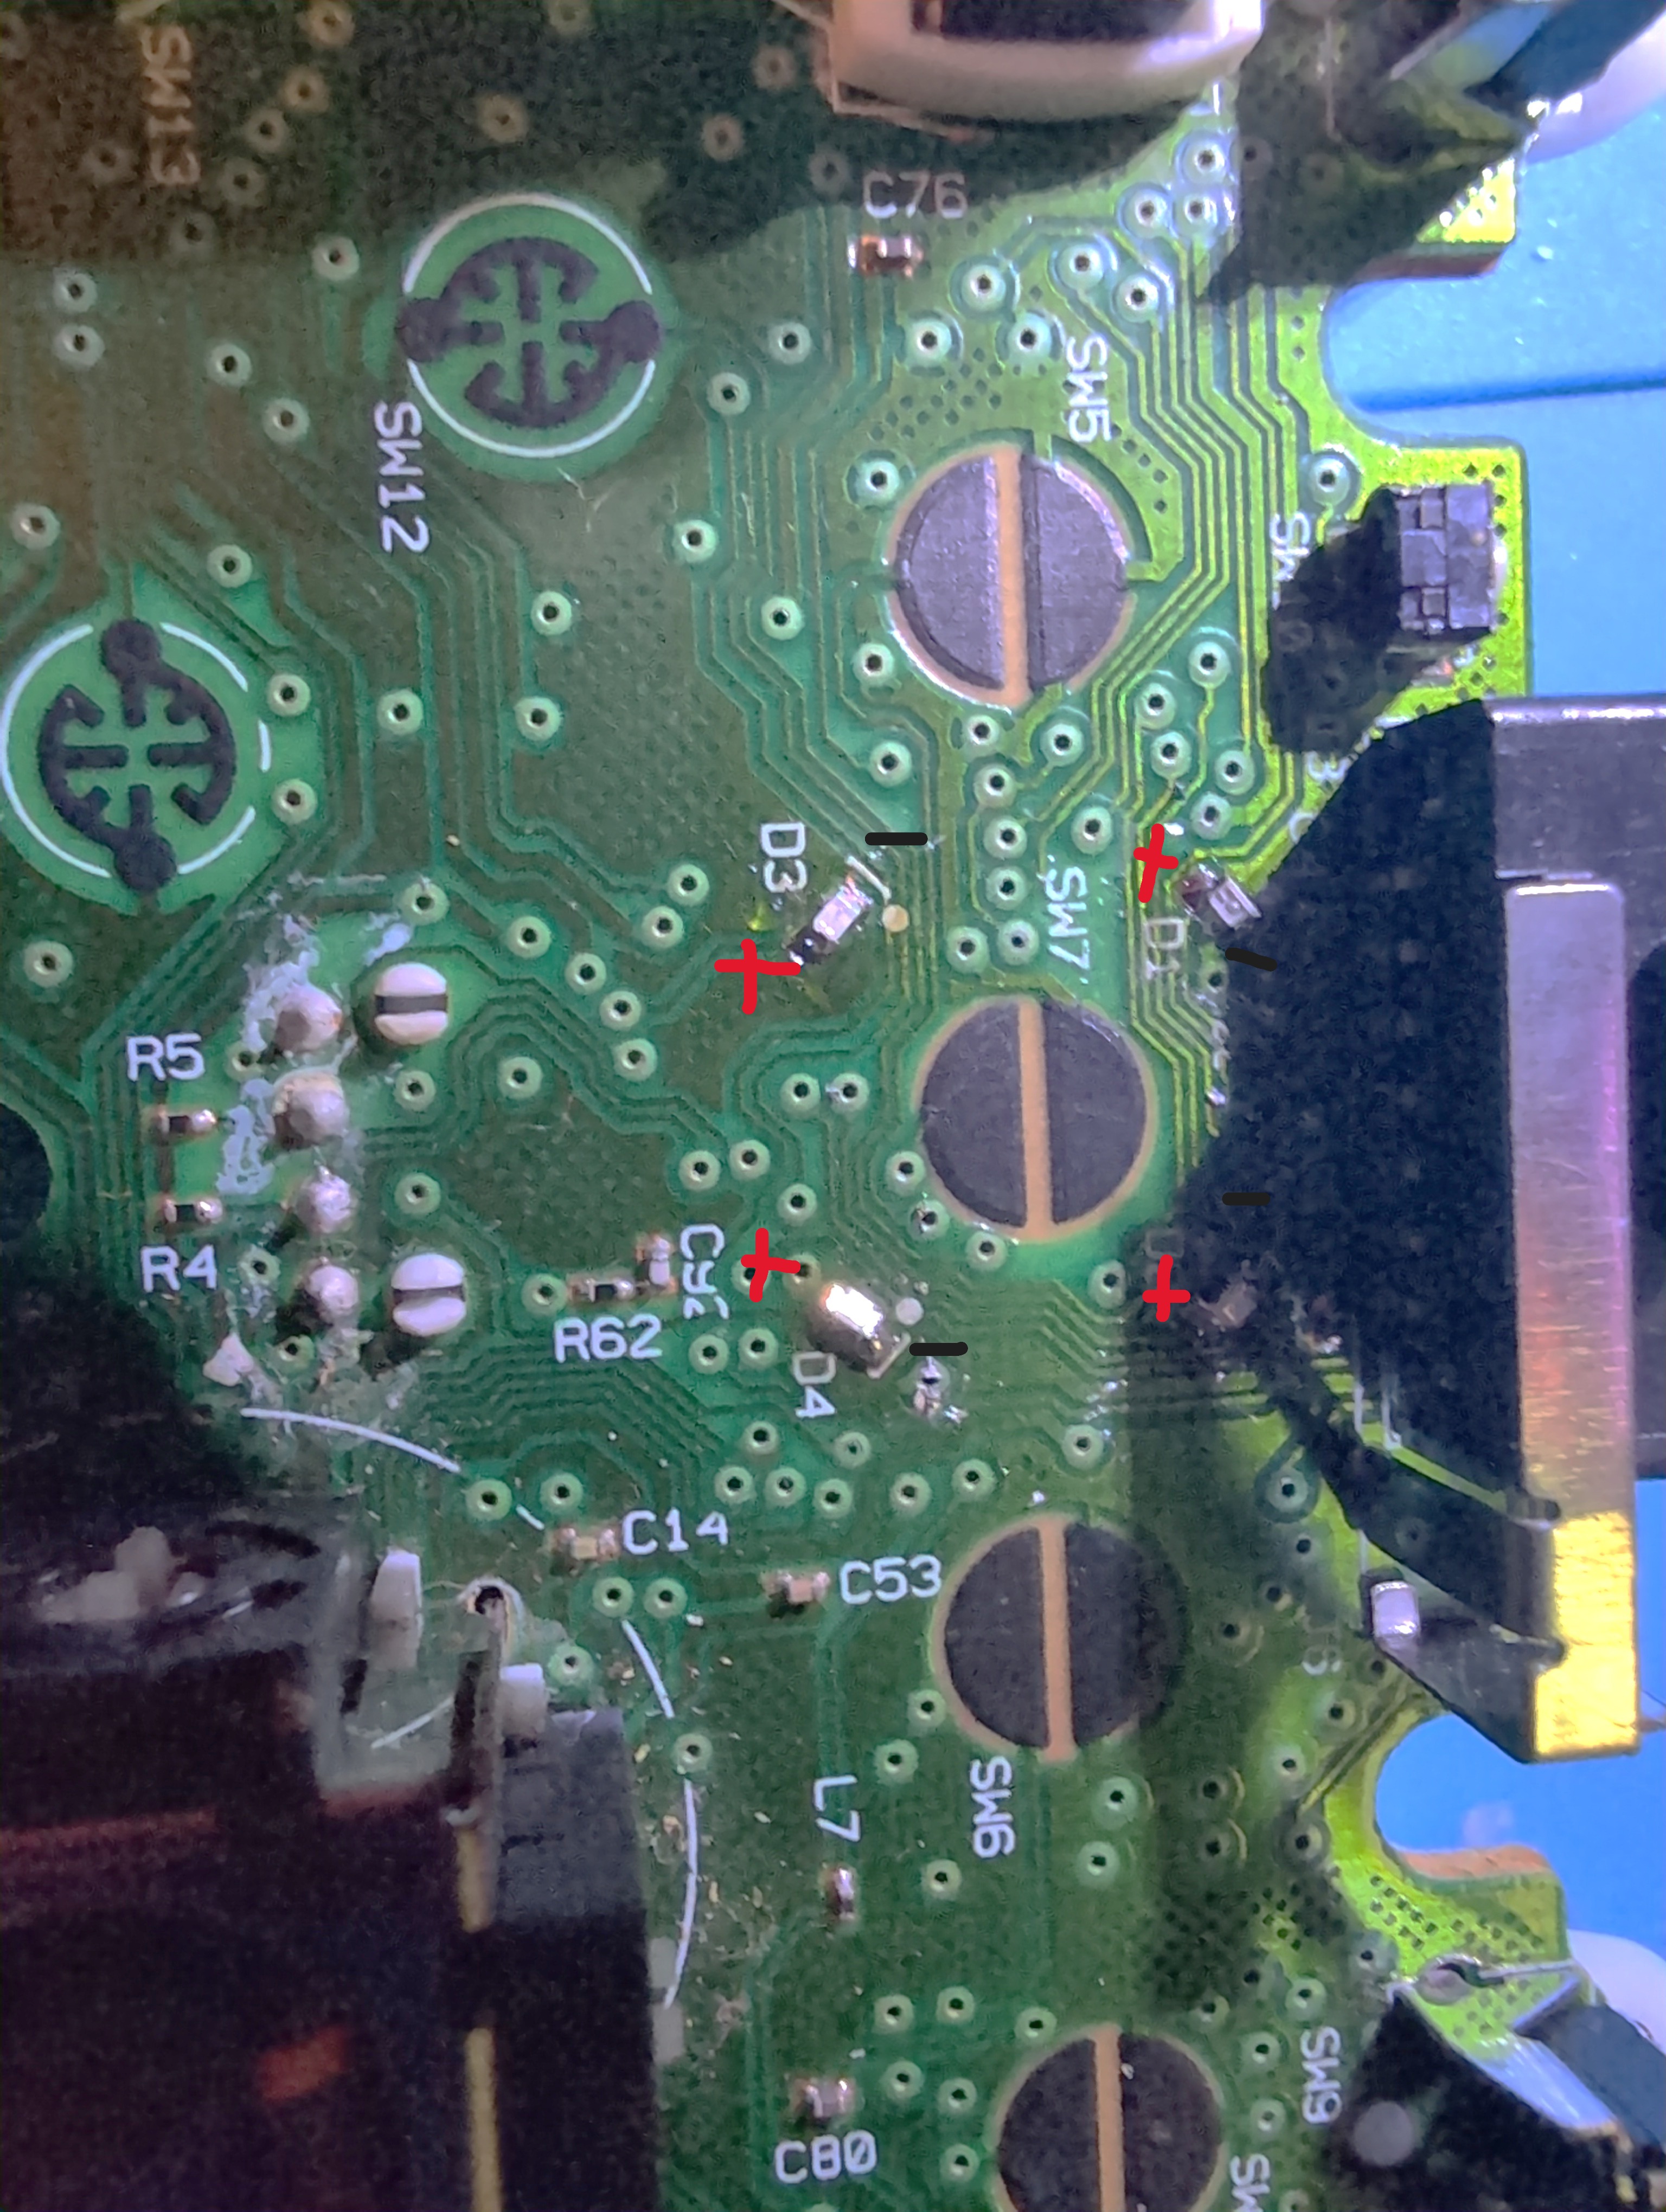
If you’re unsure, use a multimeter with the diode-test function to identify the LED’s polarity.
It’s worth double-checking this before soldering. Getting one backwards isn’t normally a disaster, but it does mean you’ll have to remove it again.
Installing the New LEDs
Once the polarity has been confirmed, position the new LED on the PCB.
I find tweezers useful for holding the LED in position while soldering.
Solder one side first and check that the LED is sitting correctly. Once you’re happy with its position, solder the other side.
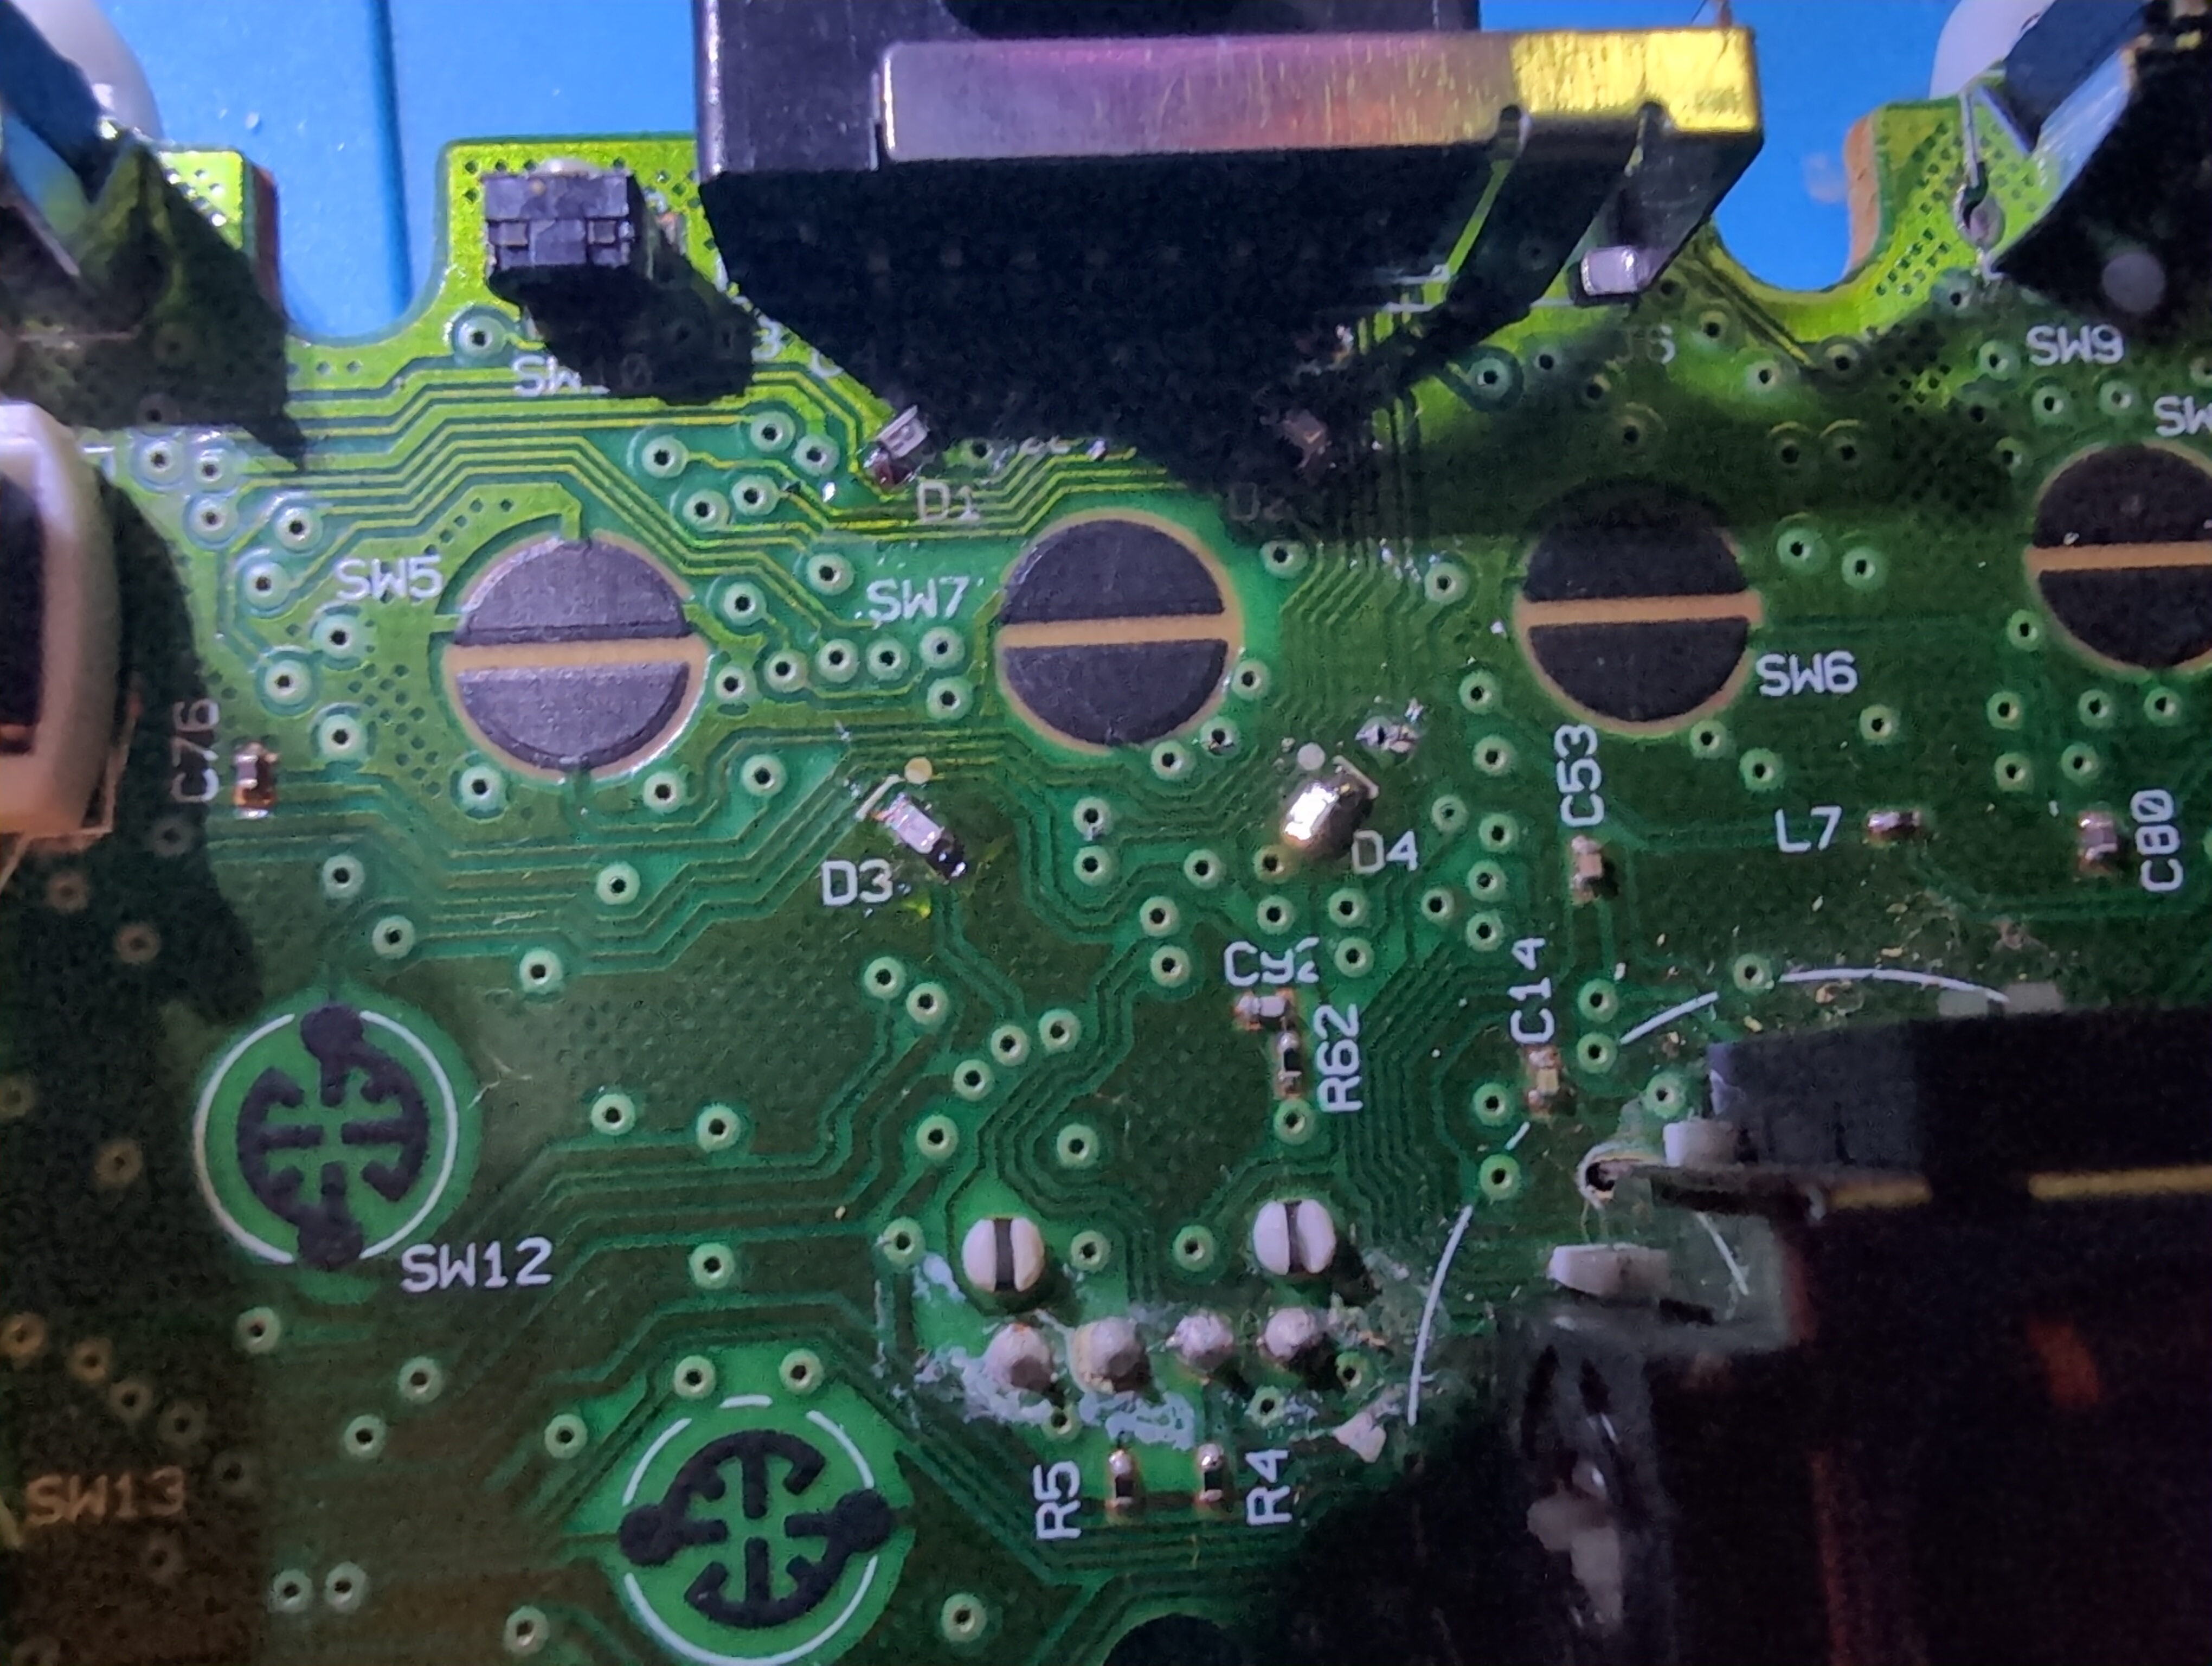
Try to keep the solder joints clean and avoid creating bridges between nearby pads.
After soldering, inspect each connection under good lighting.
Testing
Before completely reassembling the controller, it’s a good idea to test the modification.
Connect the controller and check that all of the new LEDs illuminate correctly.
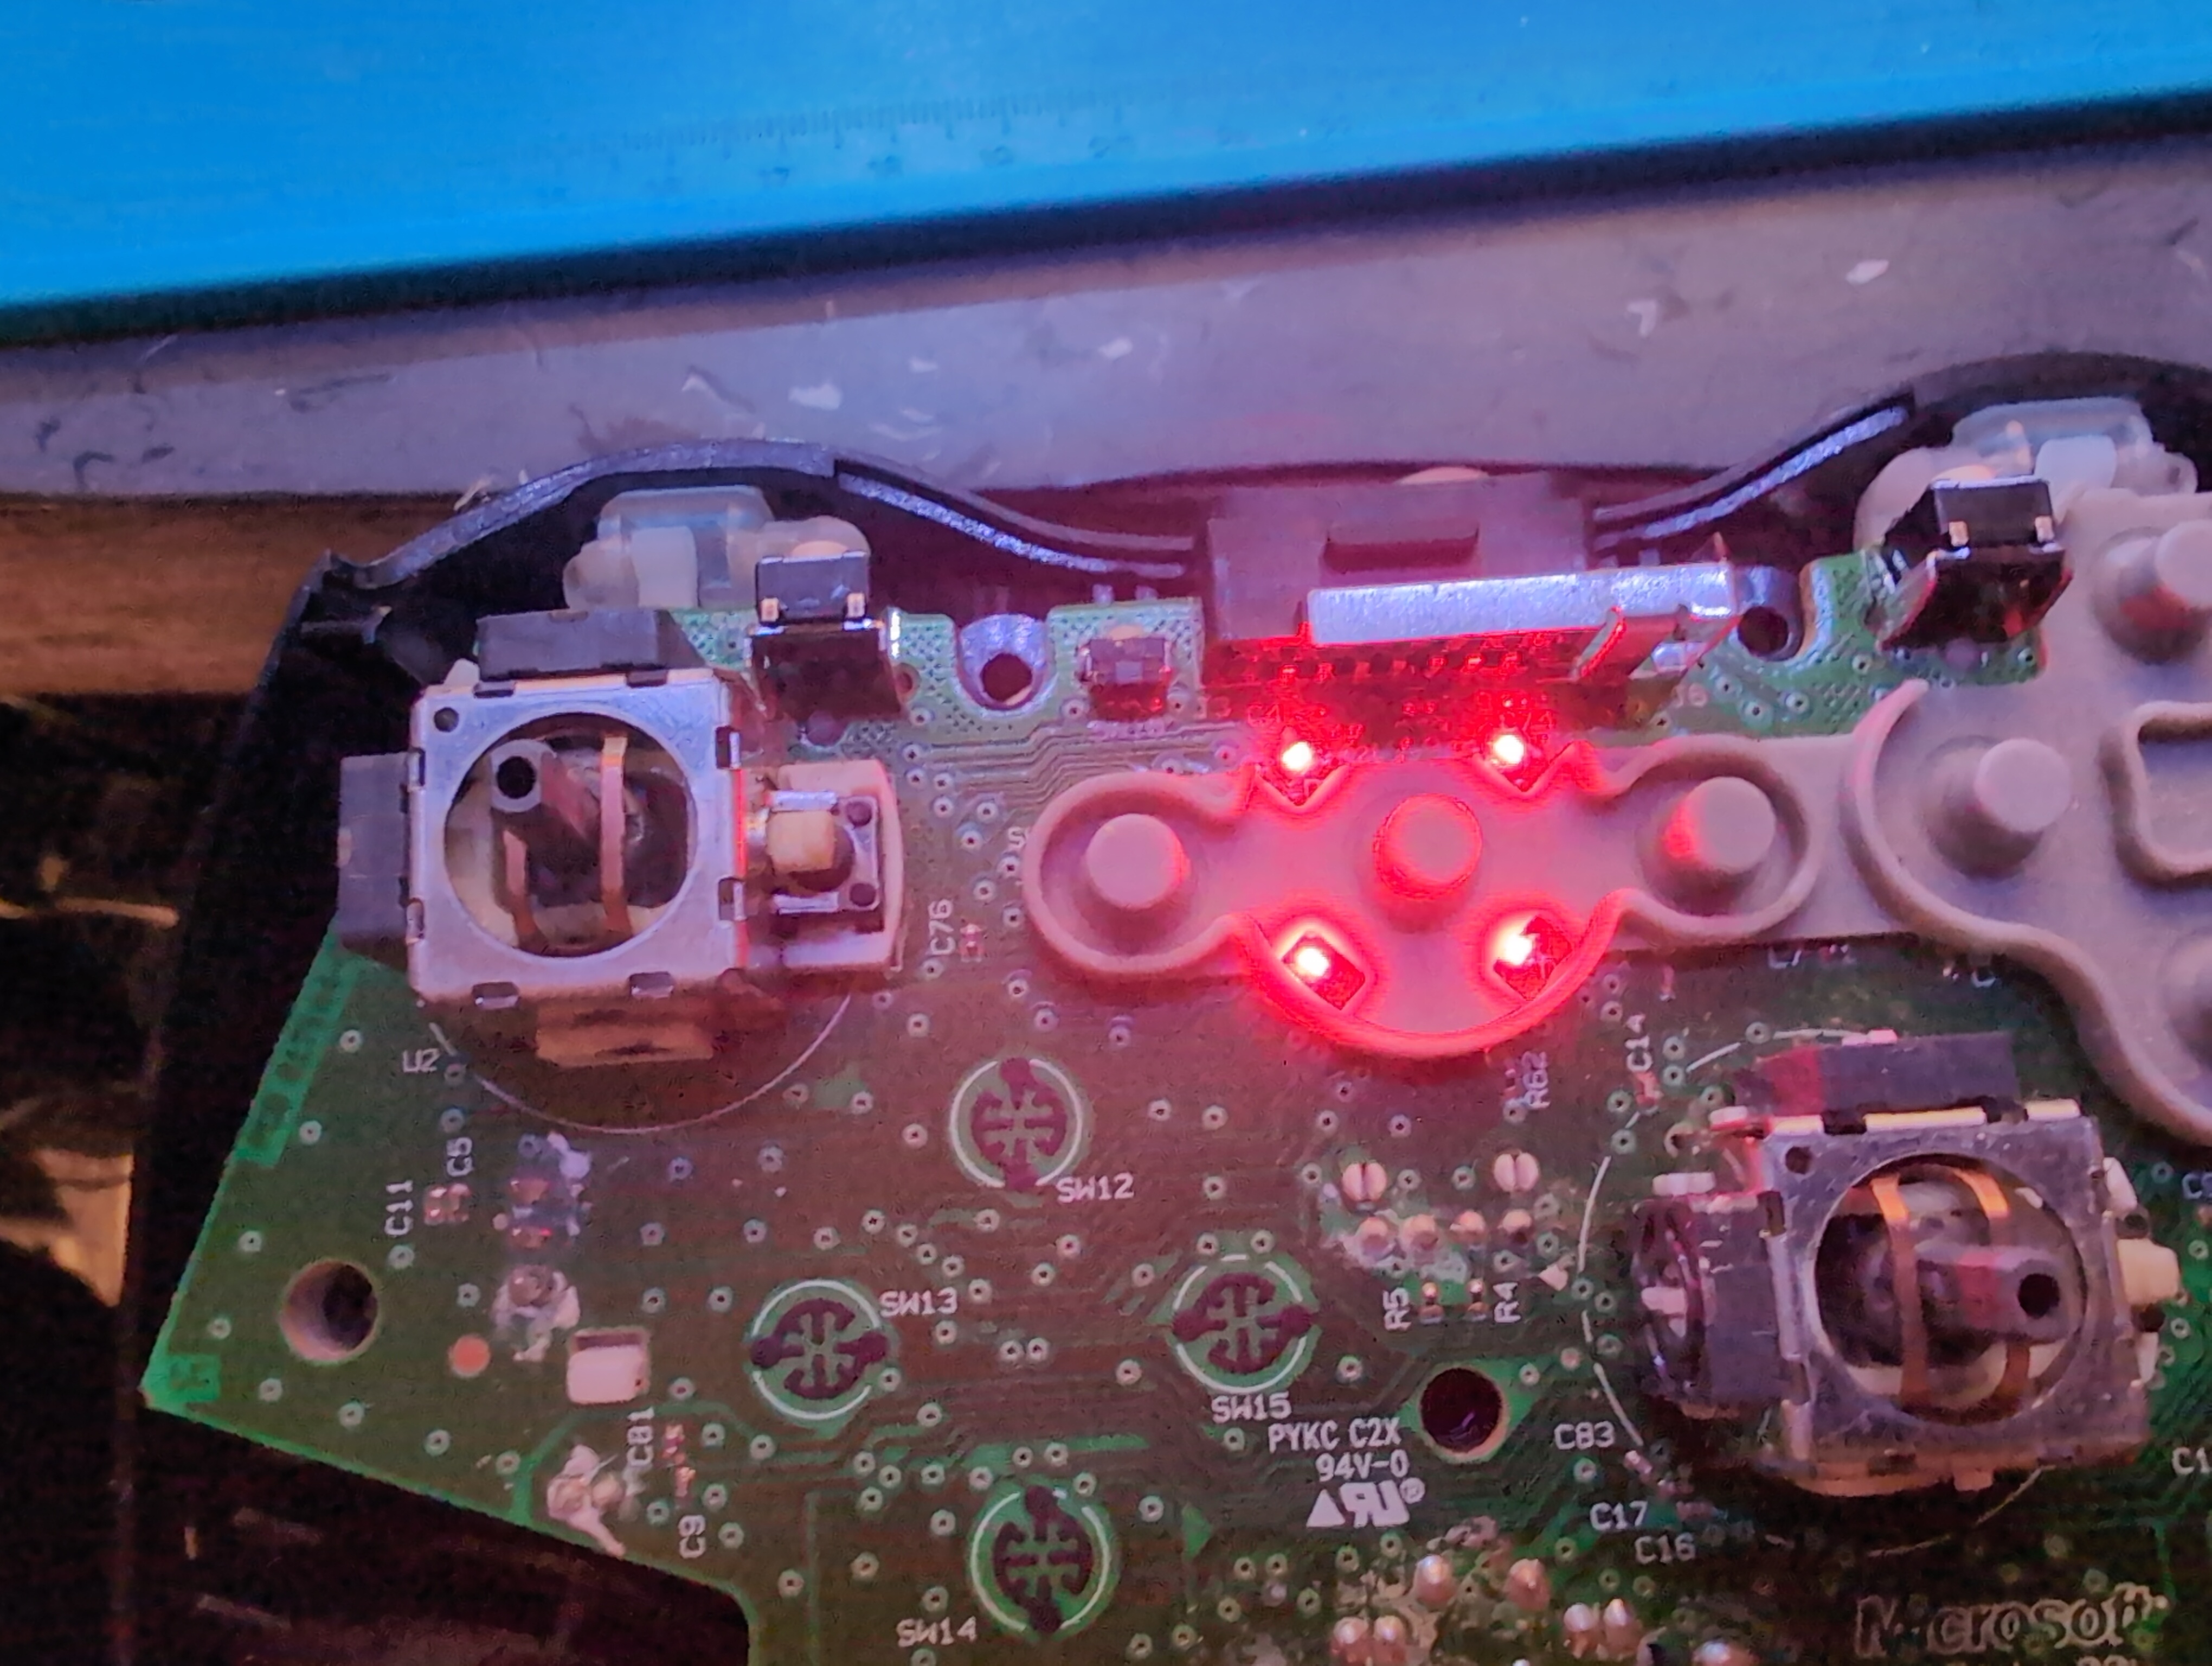
If an LED doesn’t light:
- Disconnect the controller.
- Check the solder joints.
- Check the LED polarity.
- Check for solder bridges.
- Test the LED with a multimeter if necessary.
Most problems with this type of modification come down to either a poor solder joint or an LED installed backwards. However its not imposible for LEDs to be bad if you have one or two thats not working.
Reassembling the Controller
Once everything is working, disconnect the controller and carefully put everything back together.
Make sure that:
- All buttons are correctly positioned.
- Triggers move freely.
- No wires are trapped.
- The PCB is sitting correctly in the shell.
- The screws are tightened evenly.
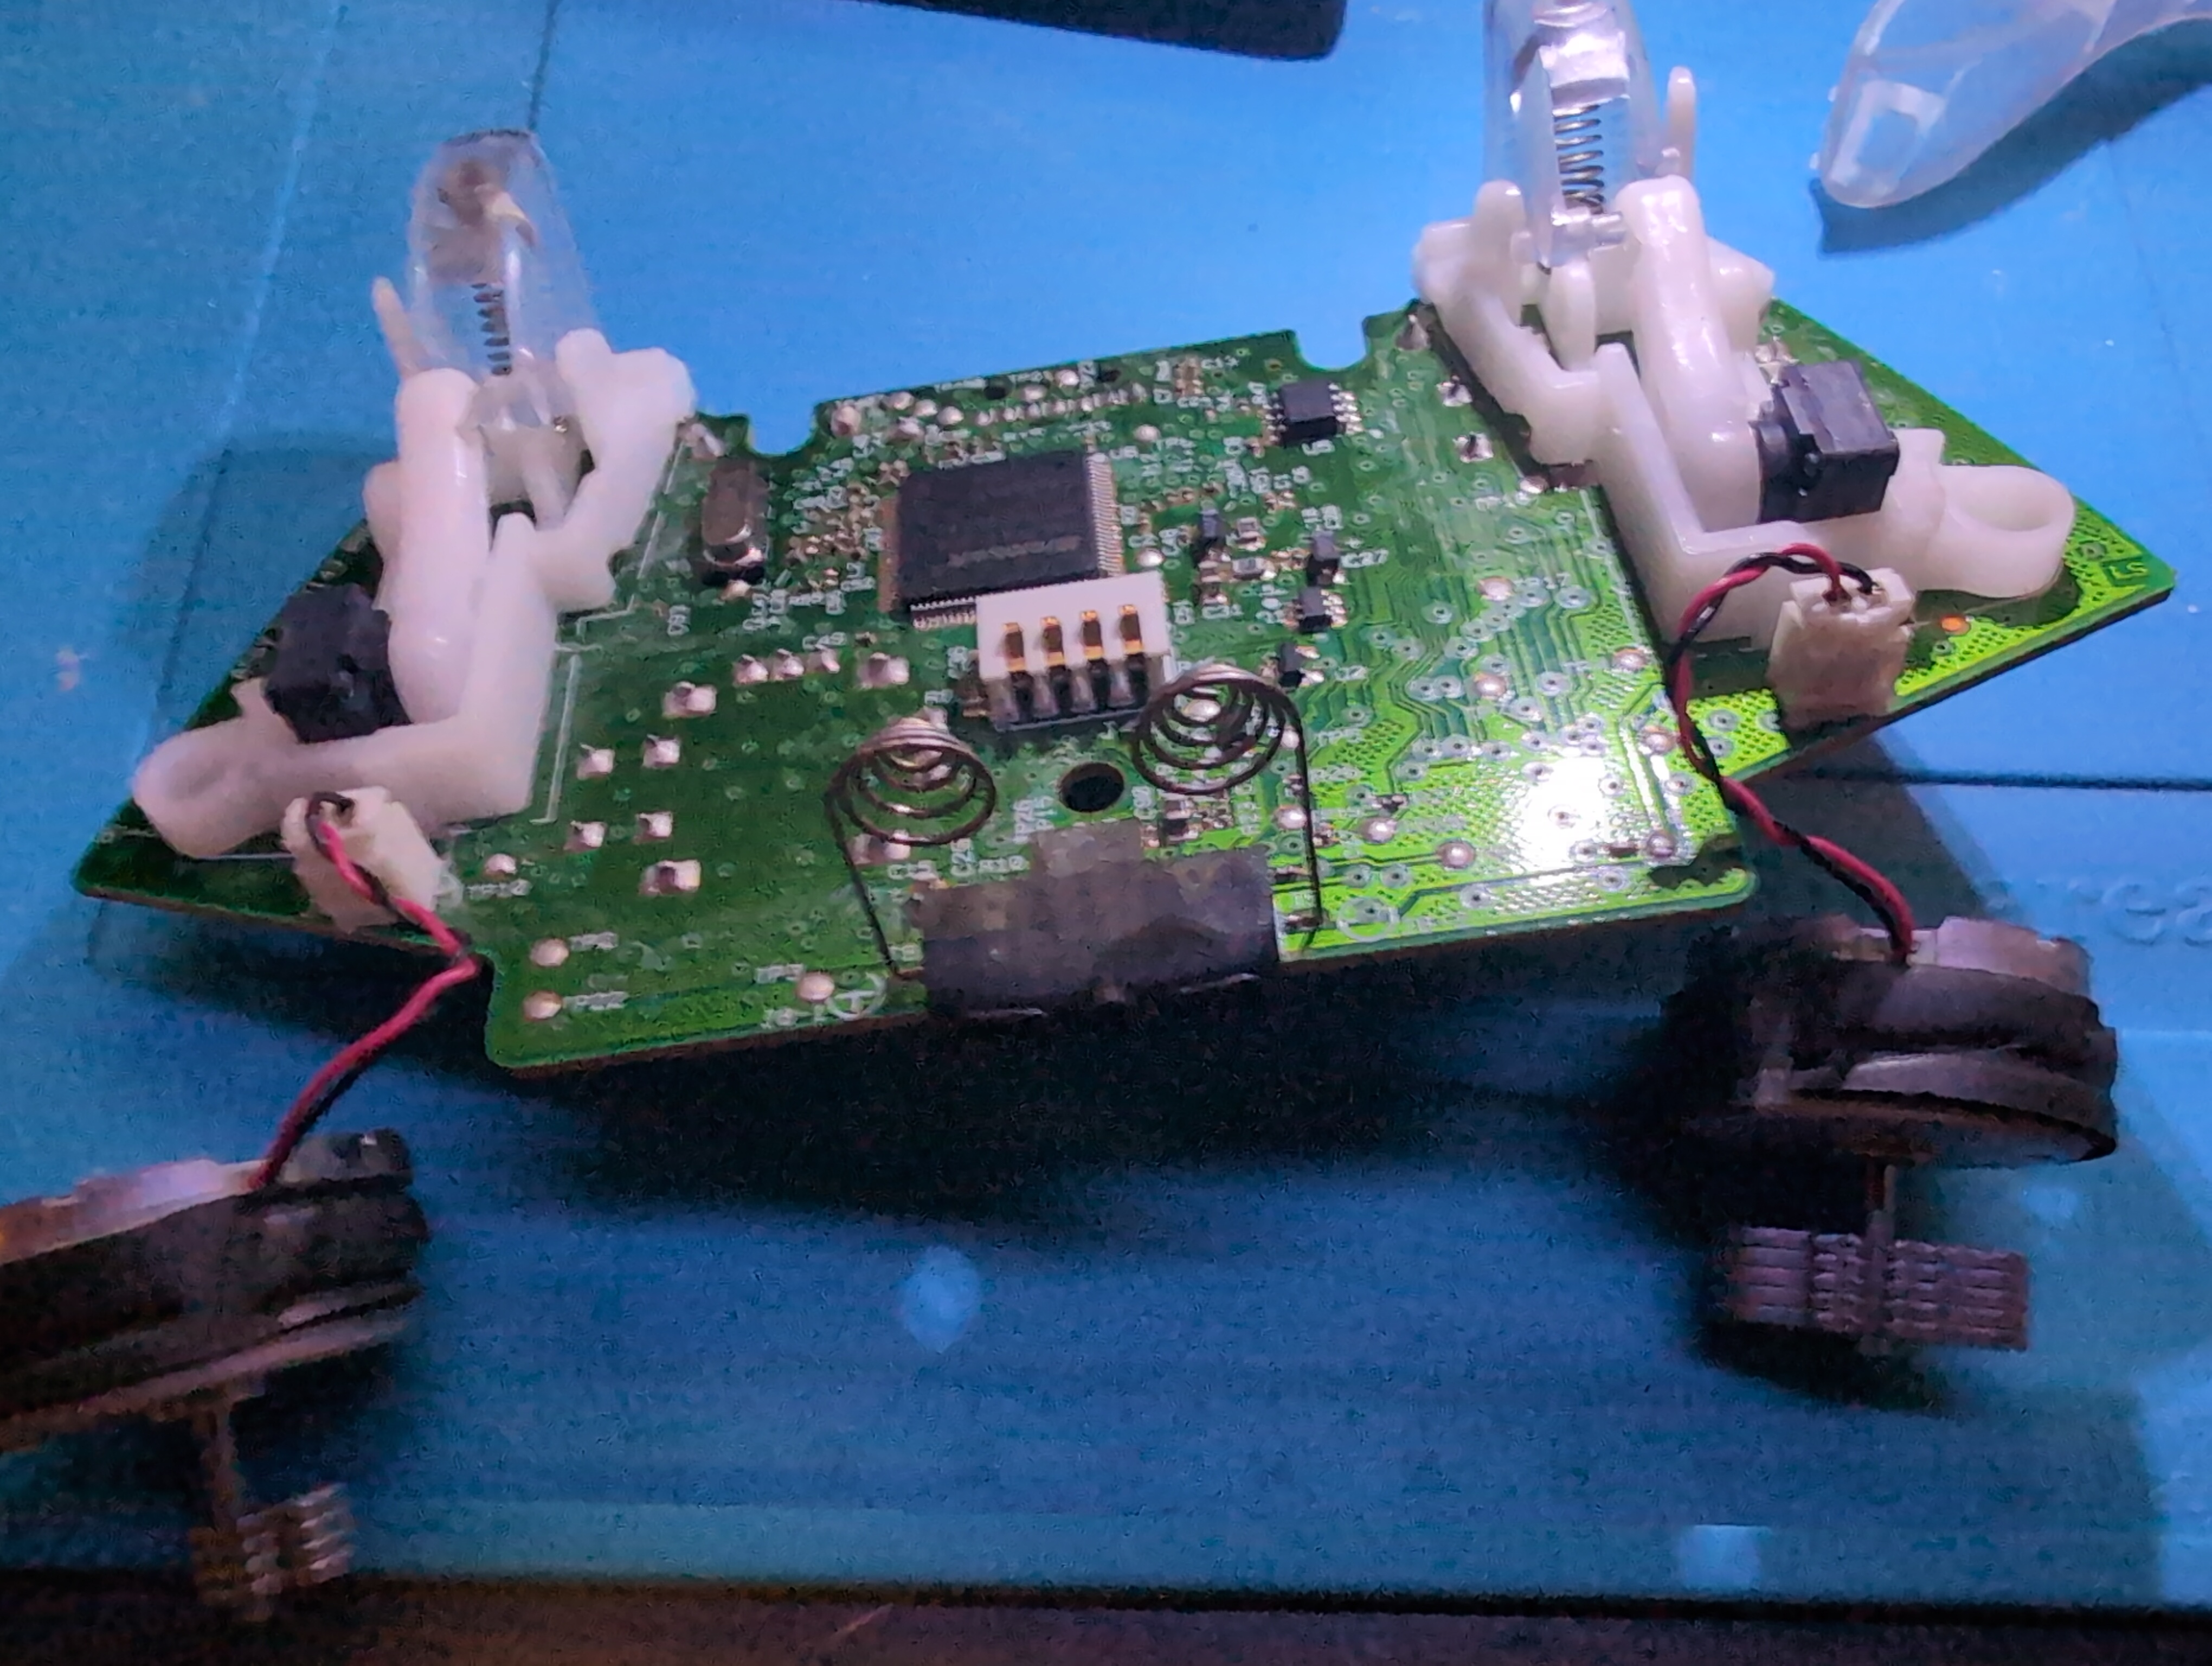
Once the controller is back together, give all of the buttons and sticks a quick test.
The Finished Result
And that’s it!
The controller now has a completely different appearance thanks to the LED modification.
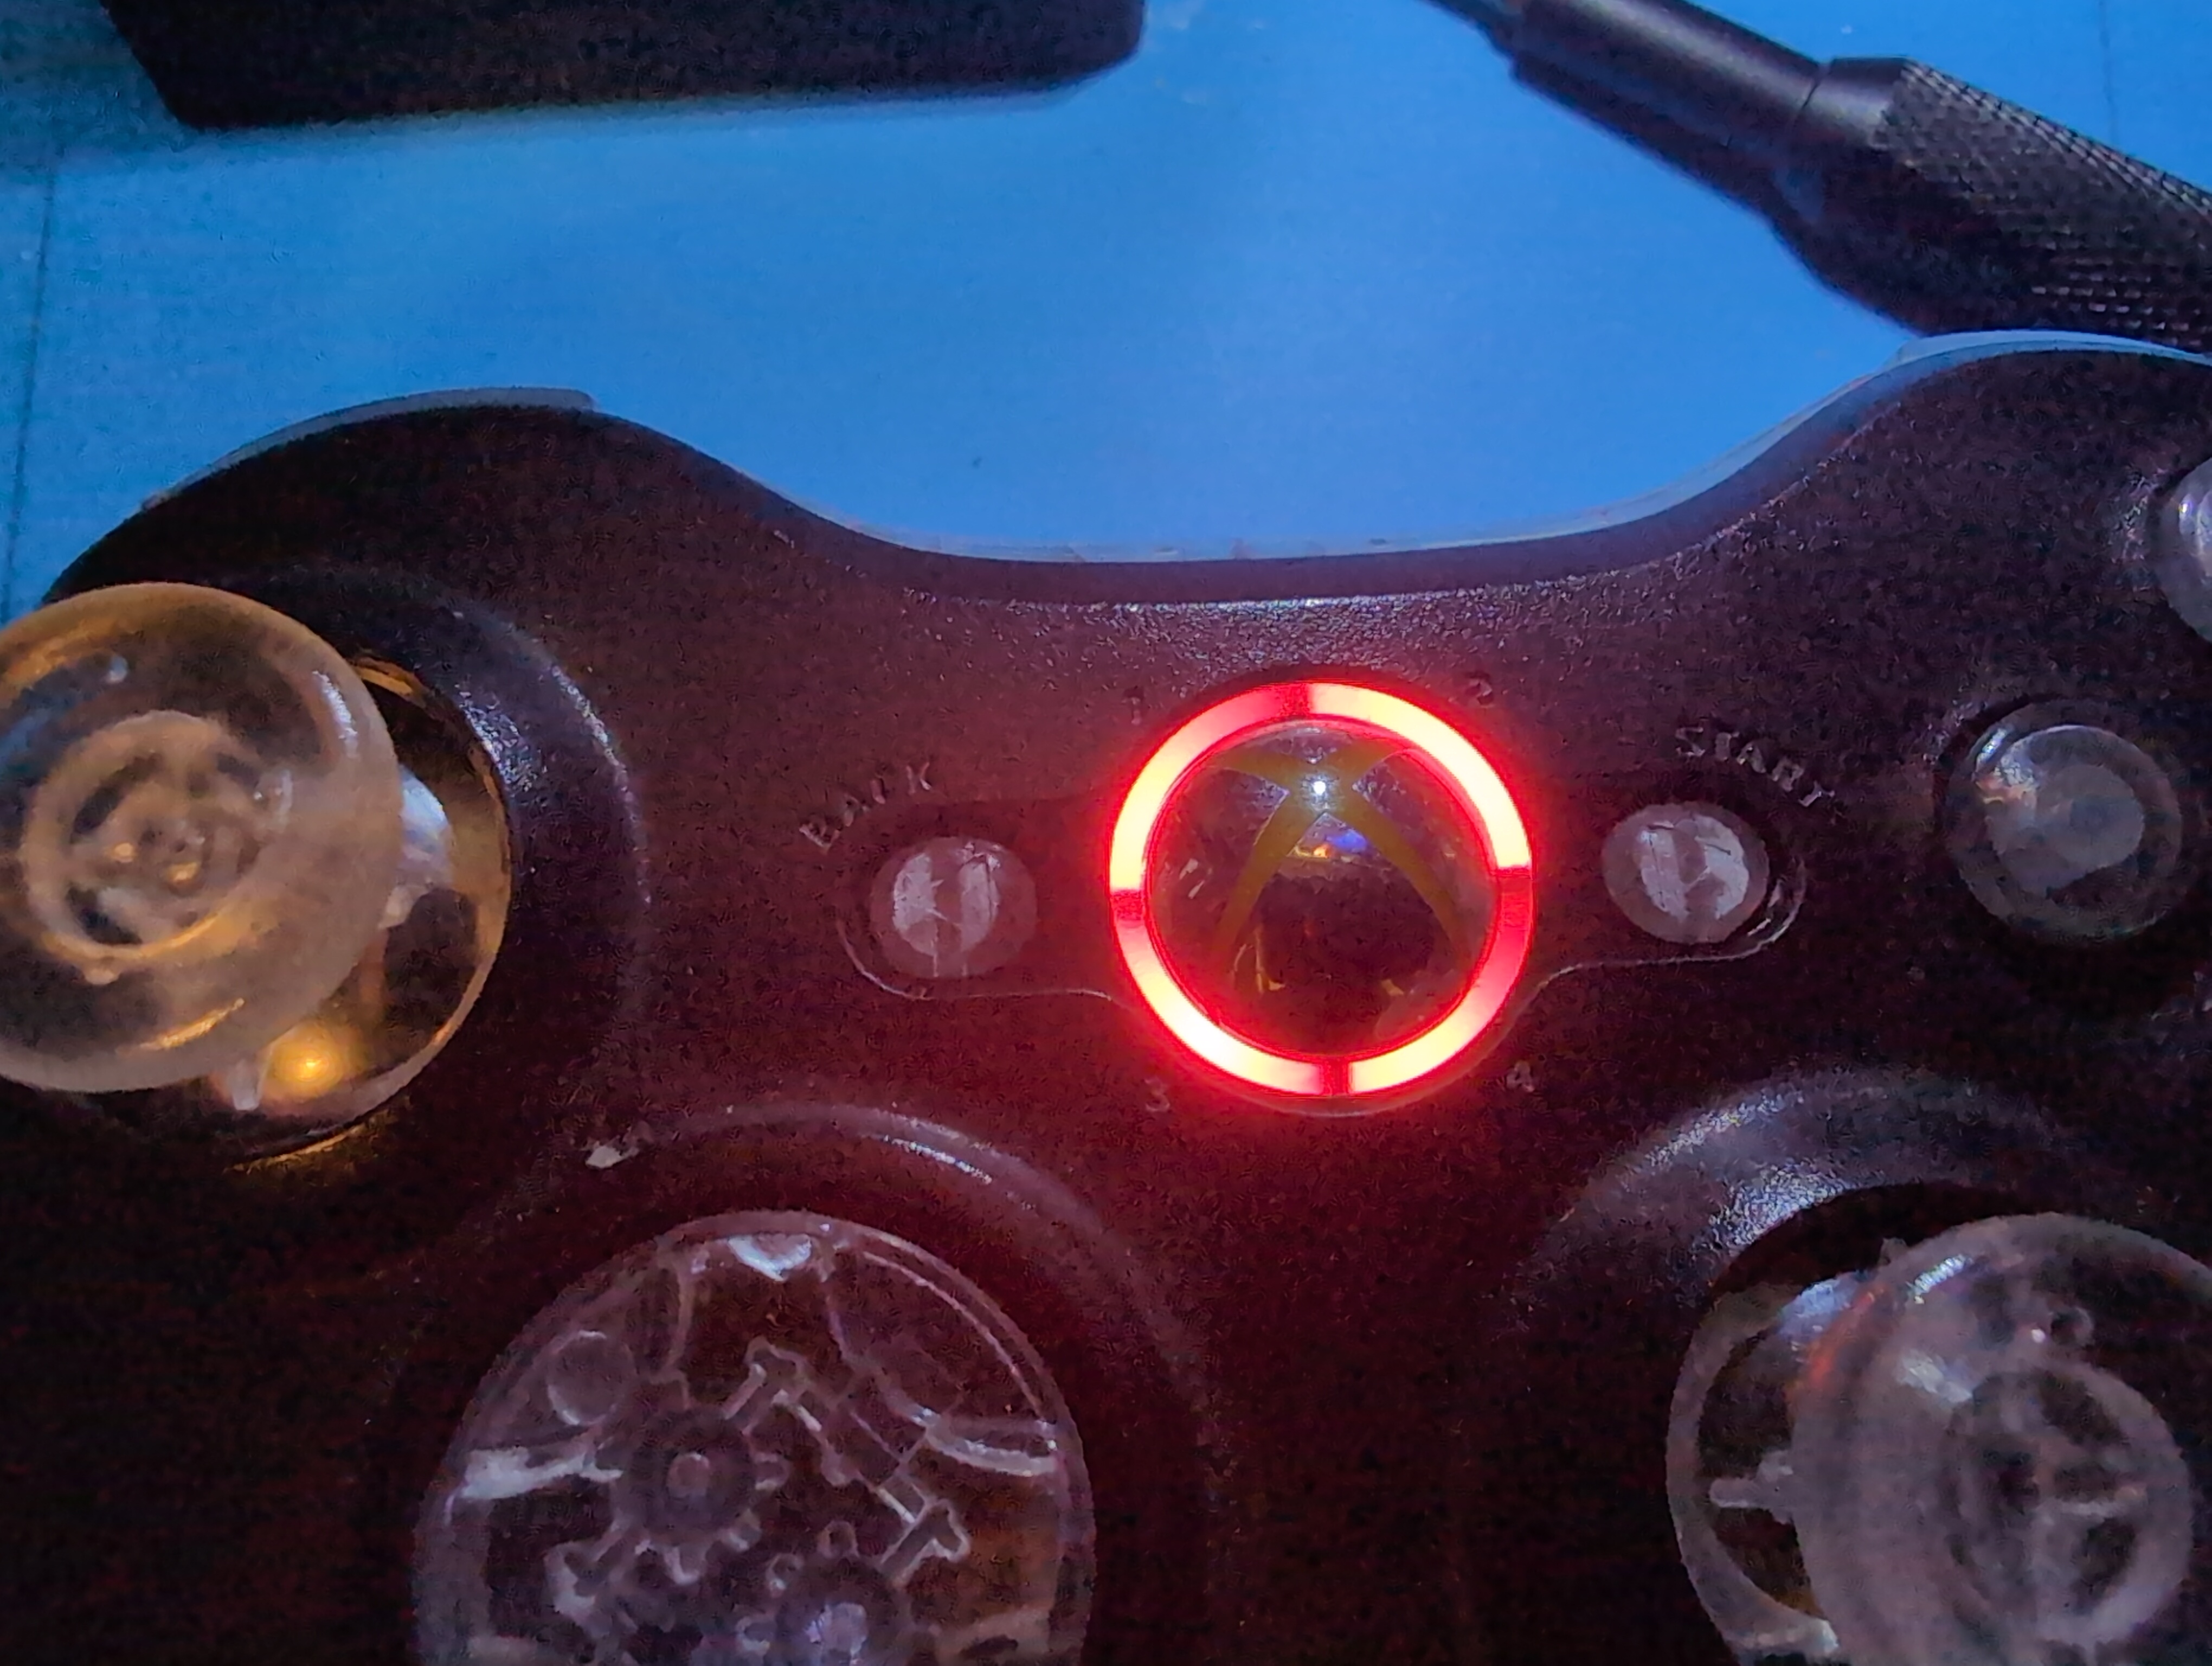
This is a relatively simple modification, but it’s a great introduction to soldering and modifying consumer electronics.
Things I’d Do Differently
If I were doing this modification again, I’d spend a little more time planning the LED layout before starting.
I’d also recommend testing every LED before fully reassembling the controller. It saves having to take the controller apart again if something isn’t working.
Conclusion
LED modding an Xbox controller is a fun little project and doesn’t require a huge amount of equipment.
If you’ve got an old controller sitting around, it’s a good way to practise soldering while also giving the controller a unique look.
Just take your time, double-check the polarity and don’t rush the soldering.
More controller and console modifications will be added to the blog as I work on them.